LVIA Photography
Photographs are used extensively in landscape / townscape and visual impact assessment (LVIA / TVIA).
In baseline assessment (i.e. describing the existing landscape) photographs are normally used to illustrate the existing landscape character. Typically, an LVIA will include photographs of the site and the surrounding landscape character areas.
Assessment work normally uses representative viewpoints and photographs are taken from these viewpoints. Sometimes these photographs are taken in winter and summer (to show the effect of seasonal vegetation) or at night as well as during the day. Viewpoint photographs can be used as back-plate images for photomontages of a proposed development (more detail in our post on Photomontages for LVIA and TVIA).
Guidelines
LVIA photography is undertaken in accordance with:
- Guidelines for Landscape and Visual Impact Assessment (‘GLVIA3’) (Landscape Institute and Institute of Environmental Management and Assessment, 2013)
- Landscape Institute Advice Note 1/11 Advice on photography and photomontage.
The latter is currently in the process of being revised (and should be published in 2019) and so now seems a good opportunity to describe in a bit more detail what LVIA photography involves.
Equipment used in LVIA photography
Camera
We use a Canon DSLR with a full frame CMOS sensor for all viewpoint photography. ‘Full frame’ means that the sensor is the same size as a single frame of 35mm film. These cameras are professional equipment and can take high quality photographs, with image size greater than 20 effective megapixels.
Lenses
Lens selection depends on the viewpoint’s context, the type of development and the end use of the photograph. For most LVIA work, a 50mm fixed focal length prime lens is used. While this is generally the agreed standard for LVIA work, there are situations when wide or telephoto prime lenses are used. Some situations (e.g. a near viewpoint of a proposed tall building) require a wide angle tilt-shift lens. This type of lens allows the central axis to be shifted by a known amount to accommodate a tall element while retaining a level camera. These tilt-shift lenses also minimise distortion compared to standard wide-angle lenses (e.g., eliminating converging parallels on buildings).
Tripod
A strong tripod is always used for LVIA work. The tripod head includes a three-way levelling plate and an indexed rotator. The rotator can be set to a specific interval between frames (e.g. 20 degrees might be used for a 50mm lens with a 40 degrees horizontal field of view) and is essential for creating accurate panoramic photos if a wide field of view needs to be photographed. The tripod head also has a plate for centering the nodal point of the lens with the axis of rotation. This eliminates parallax error when taking panoramic photos. For viewpoints on soft surfaces, spiked feet are used to ensure that the tripod does not move when photographs are being taken. This can be essential when taking photographs on a windy day on a Scottish hillside or Cornish beach.
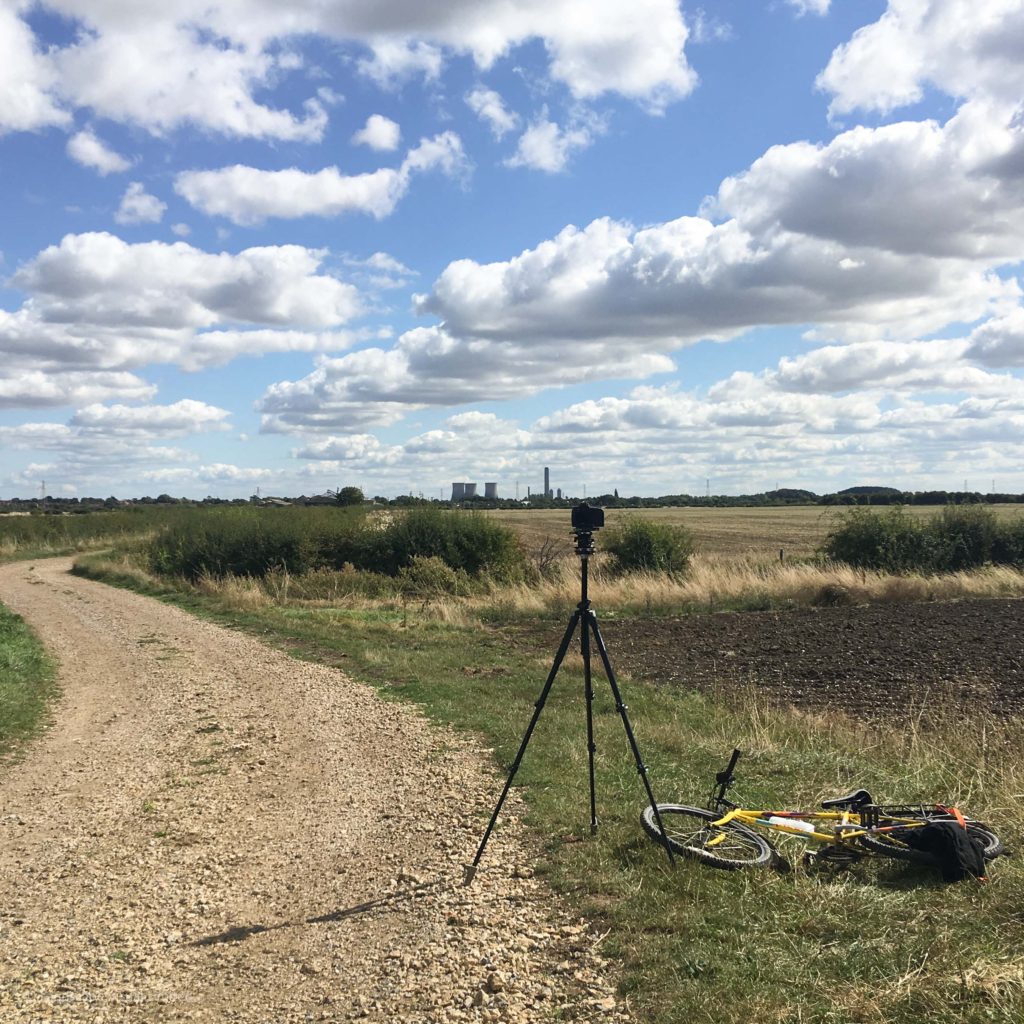
A sturdy tripod is essential for LVIA photography. A bike can be very useful too.
Other equipment
- A hand-held GPS device to record the viewpoint location.
- Mapping and a plan for the day’s photography (for example, we always make sure that photographs are taken at the correct time relative to the position of the sun). Mapping typically includes Zone of Theoretical Visibility plans and context plans, including Ordnance Survey mapping and aerial photography.
- Spirit levels to check the levelling of the camera.
- Survey marking equipment if we are putting down marks for a survey team (for Accurate Visual Representations / Verified Views – more information in this article here). This can also be useful if we need to return to take photographs from exactly the same location at a different time of day or in another season.
- A notebook for recording information relating to the photography.
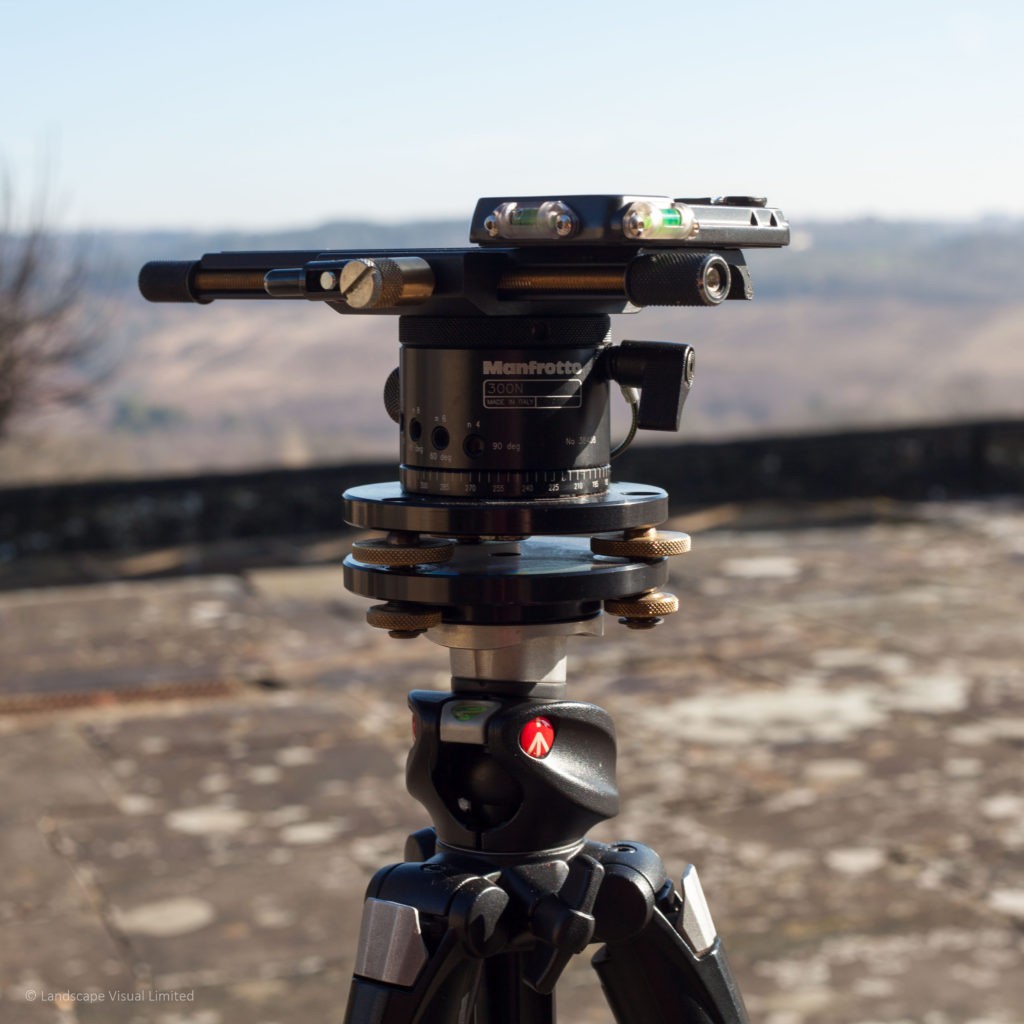
A tripod head suitable for LVIA photography: a levelling base, a rotator (for panoramic shots) and a plate for adjusting the position of the nodal point of the lens
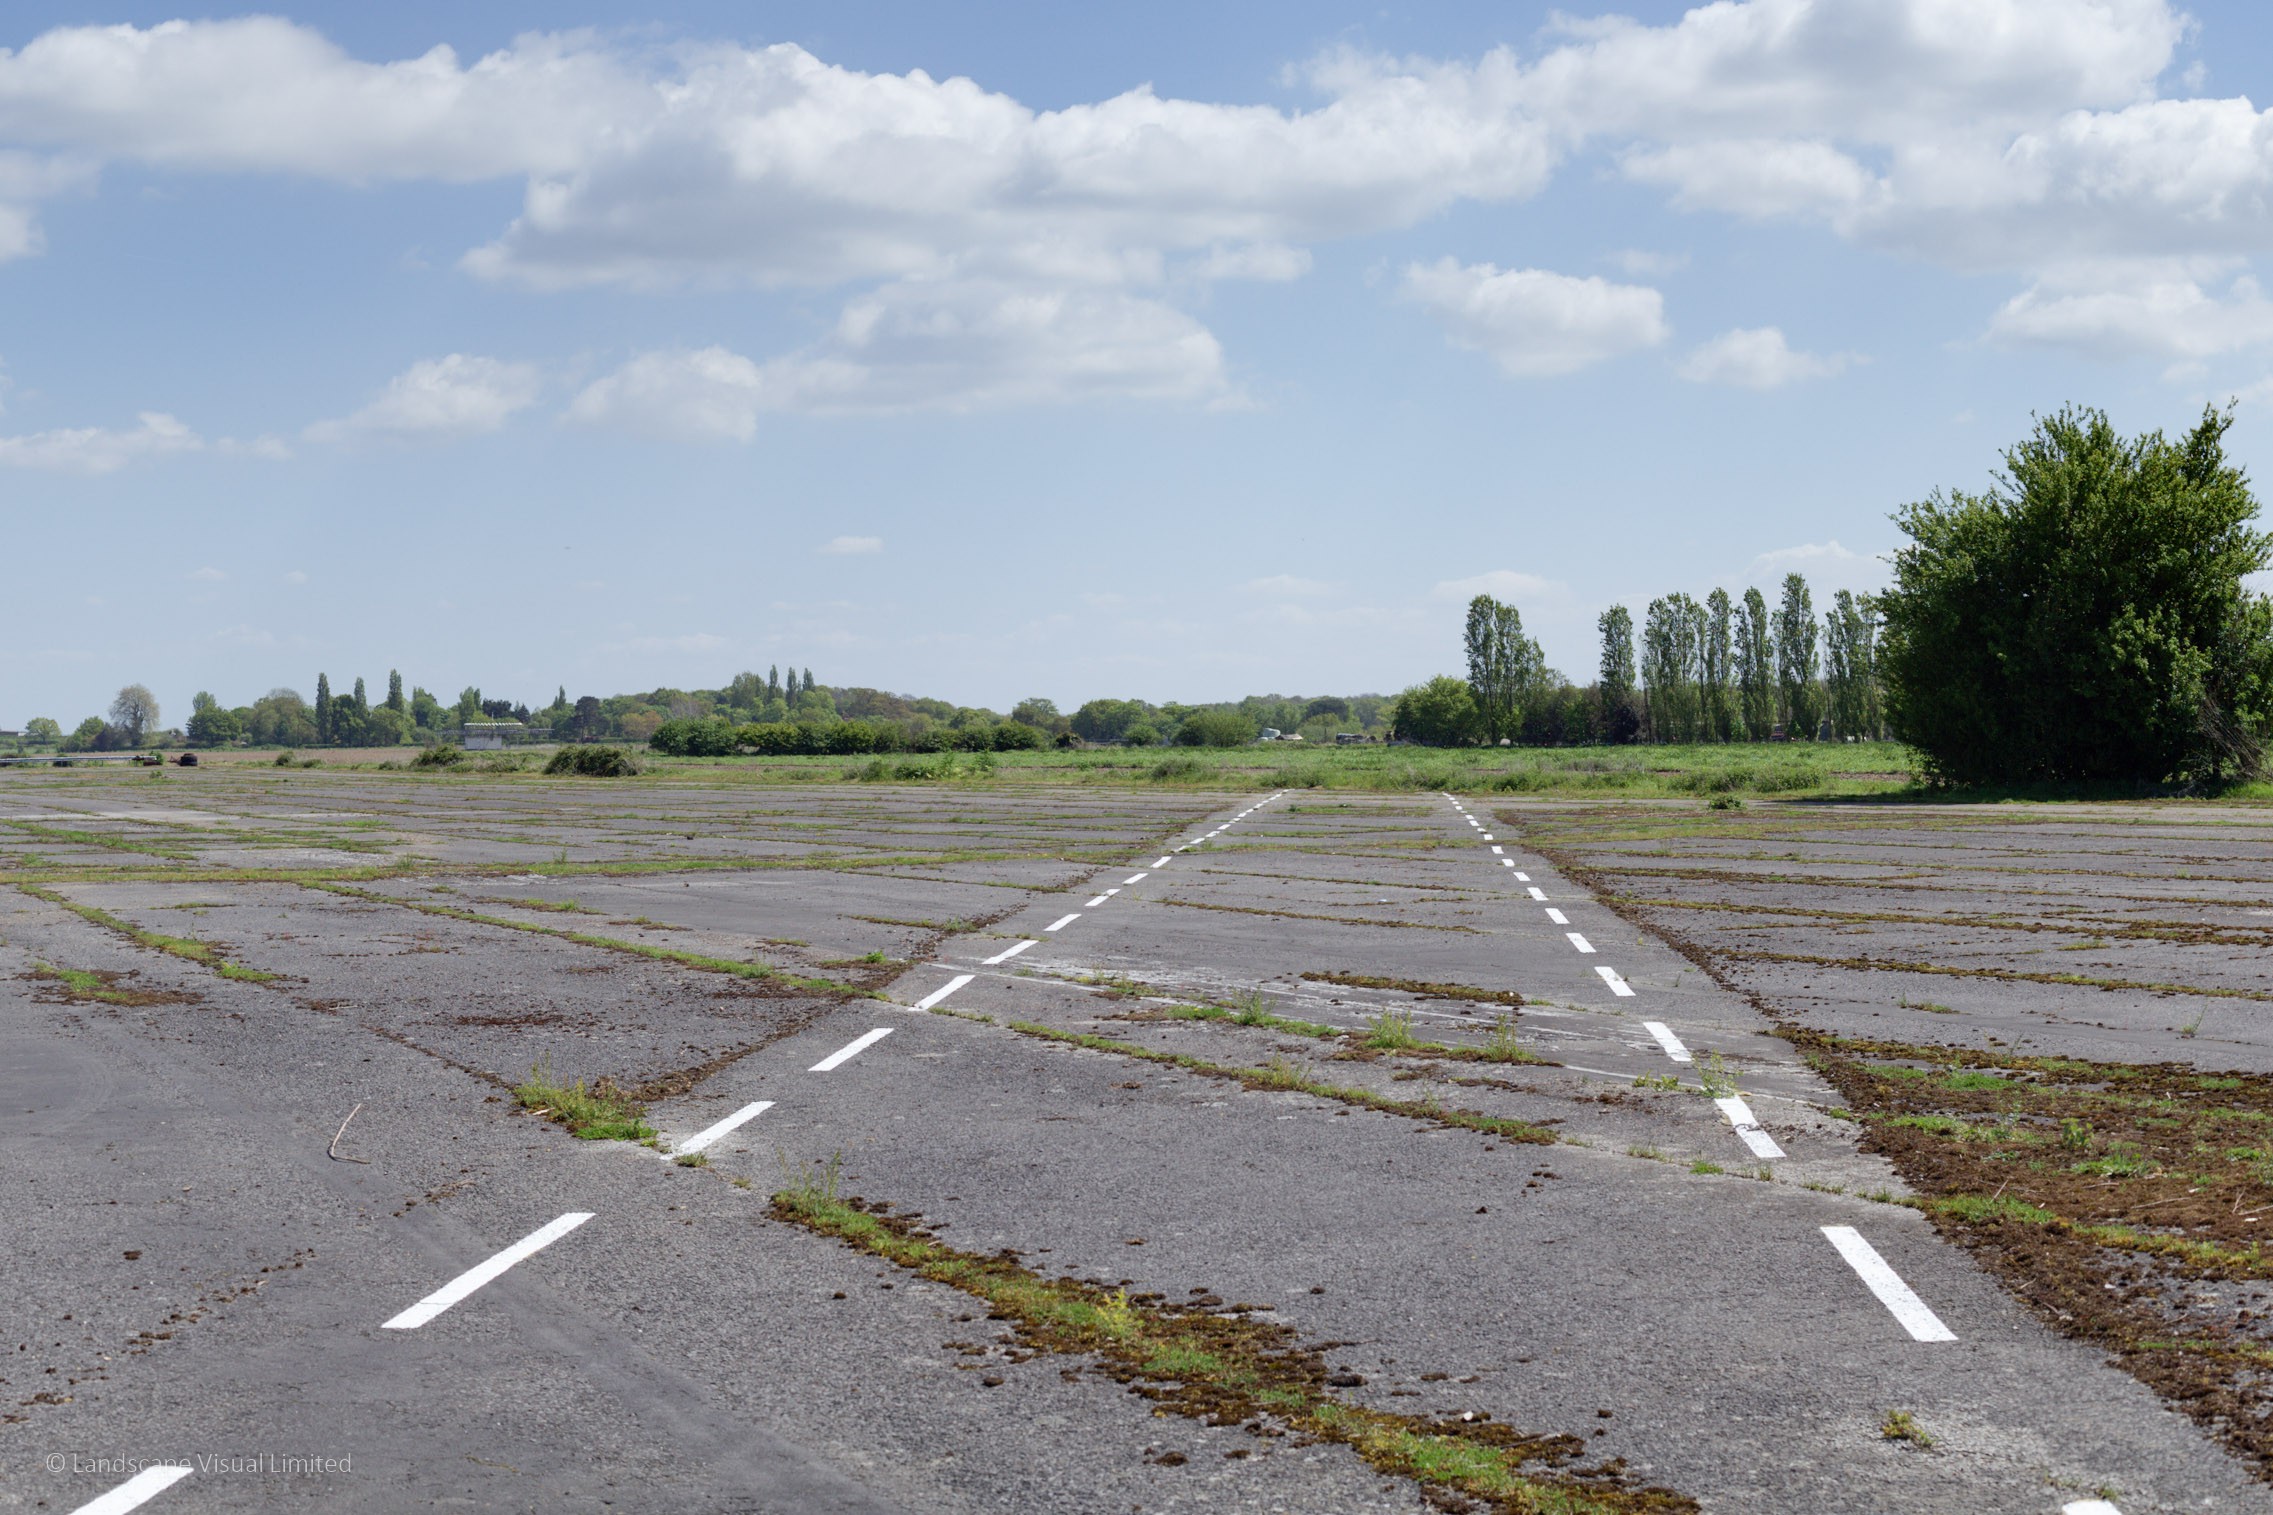
Examples of LVIA photographs
While it can be the case that guidance is very prescriptive (e.g. photography and photomontage guidance for wind farms such as Scottish Natural Heritage’s Visual Representation of Wind Farms (2017)) there is no substitute for experience in the field. We have undertaken photography in a wide variety of situations from busy urban shopping streets, protected vistas in London, listed buildings and historic landscapes, green belt farmland, and the summits of Scottish mountains. Should you have a project you wish to discuss or would like to find out more in general about landscape / townscape and visual impact assessment work, do get in touch.
Click through the images below for some examples of LVIA photography we have undertaken recently.
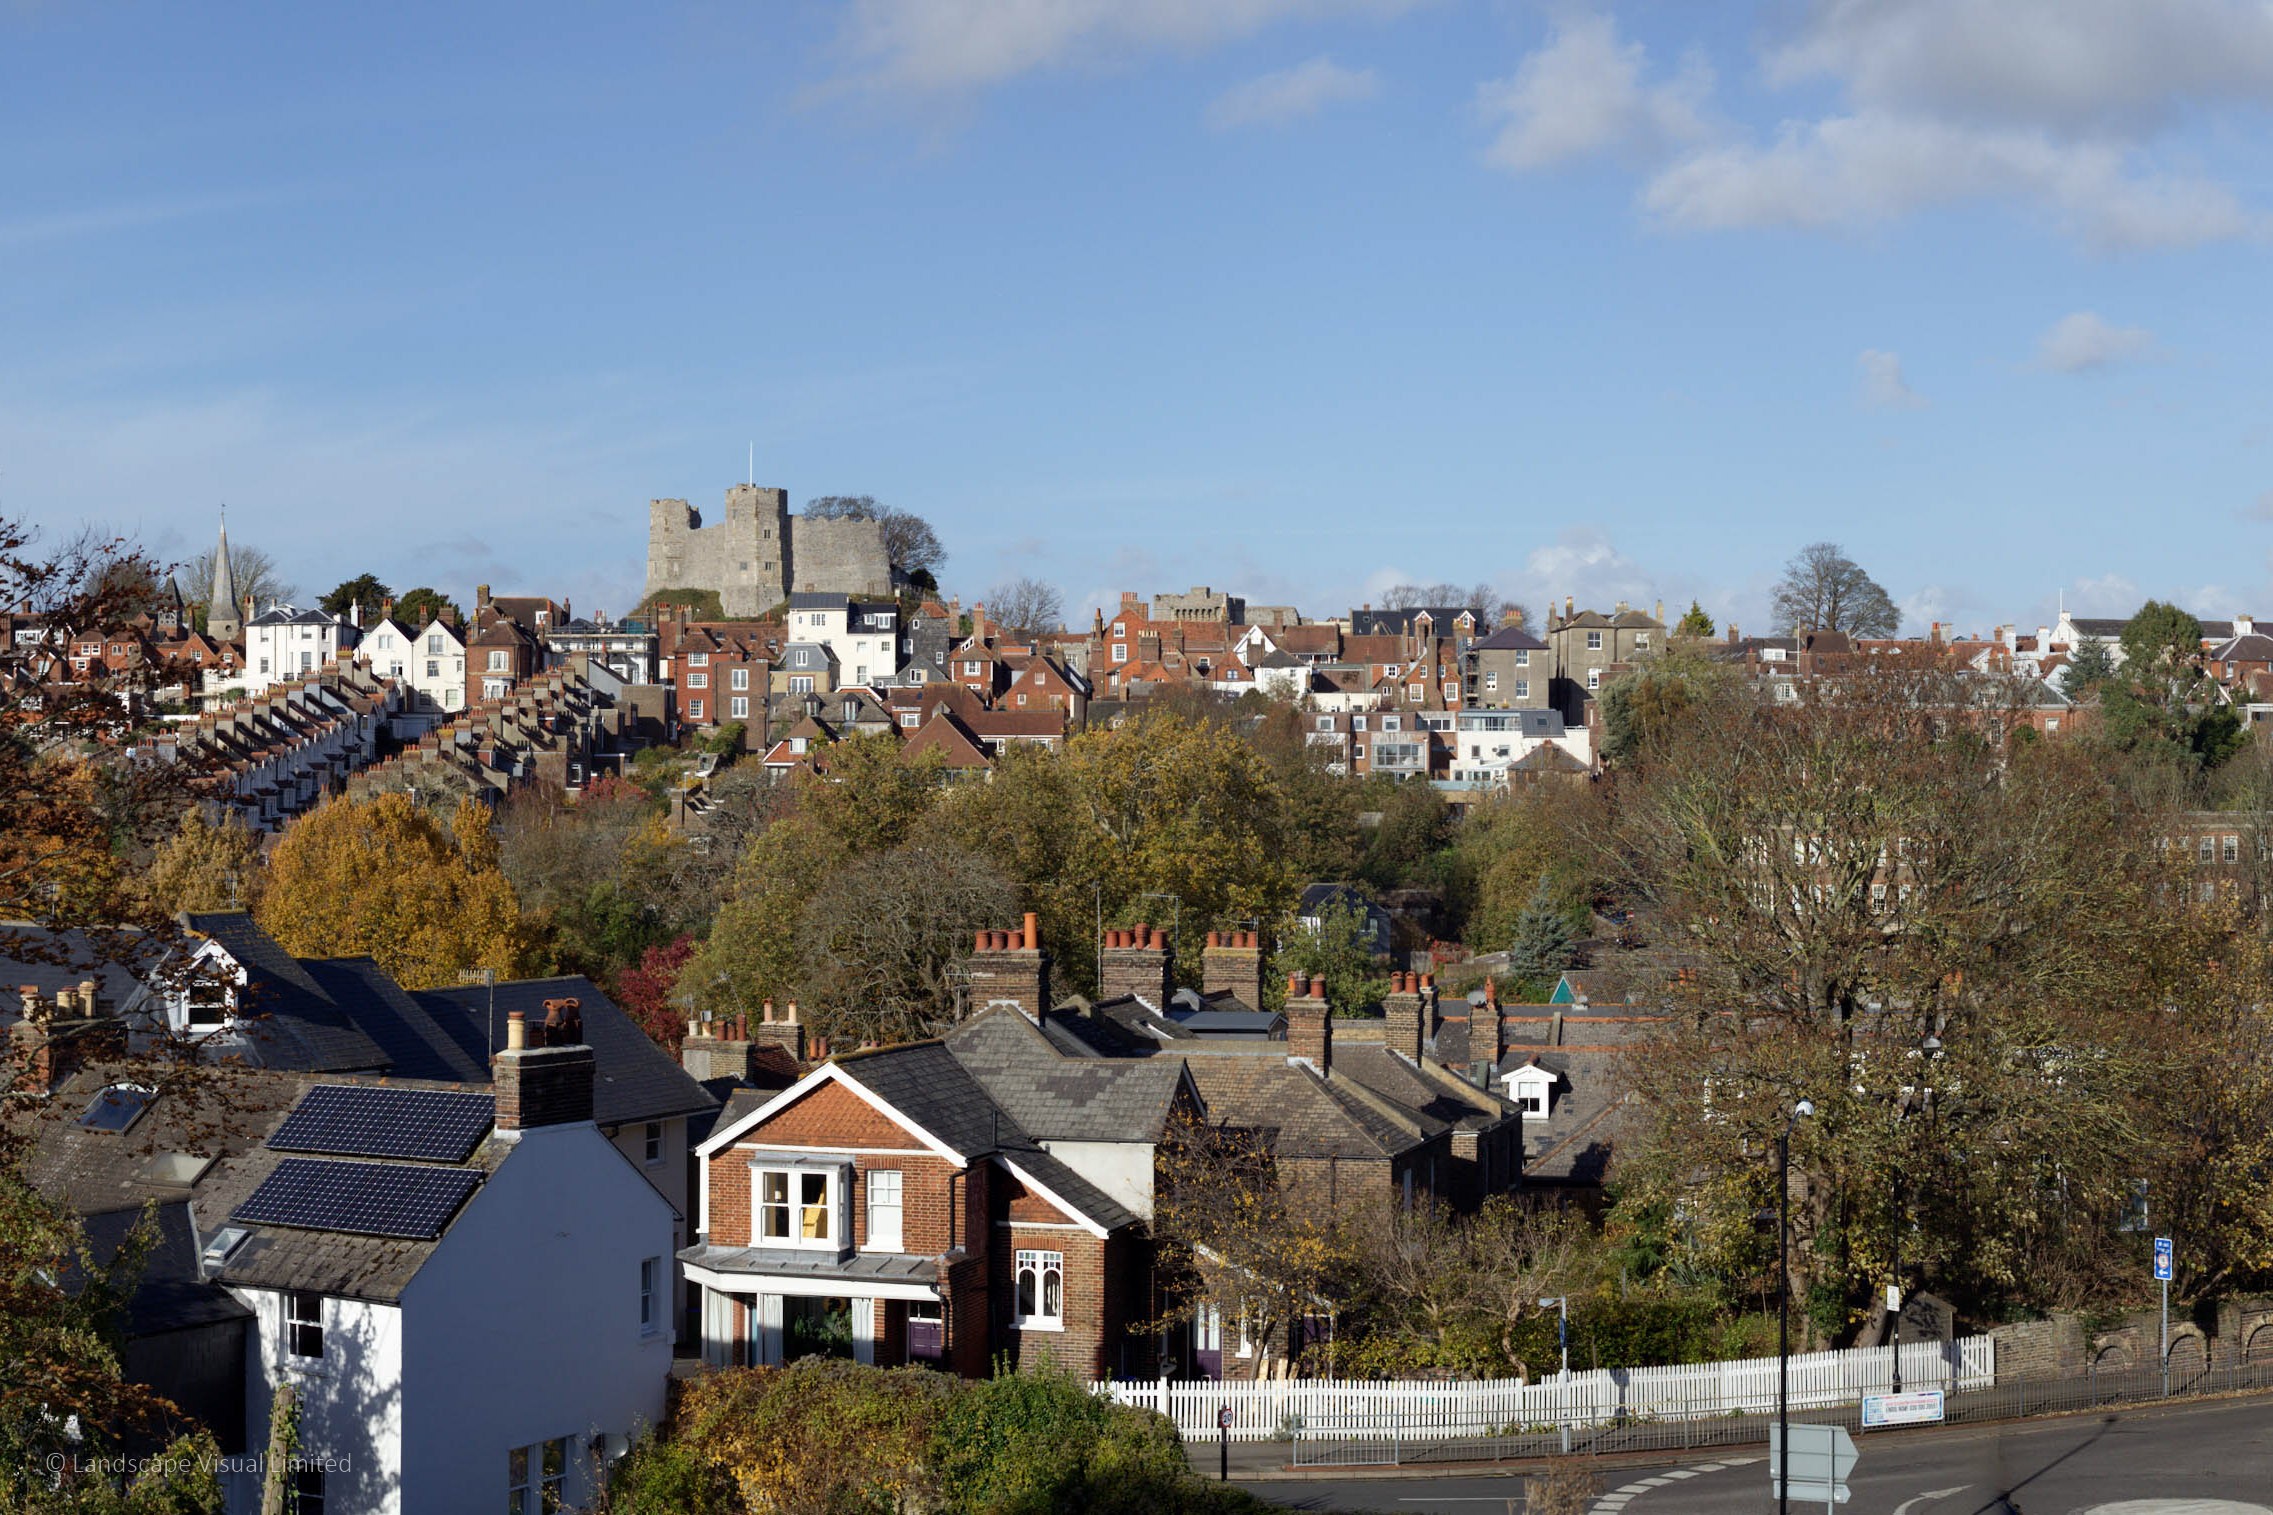
Lewes Castle
Wisley, Surrey
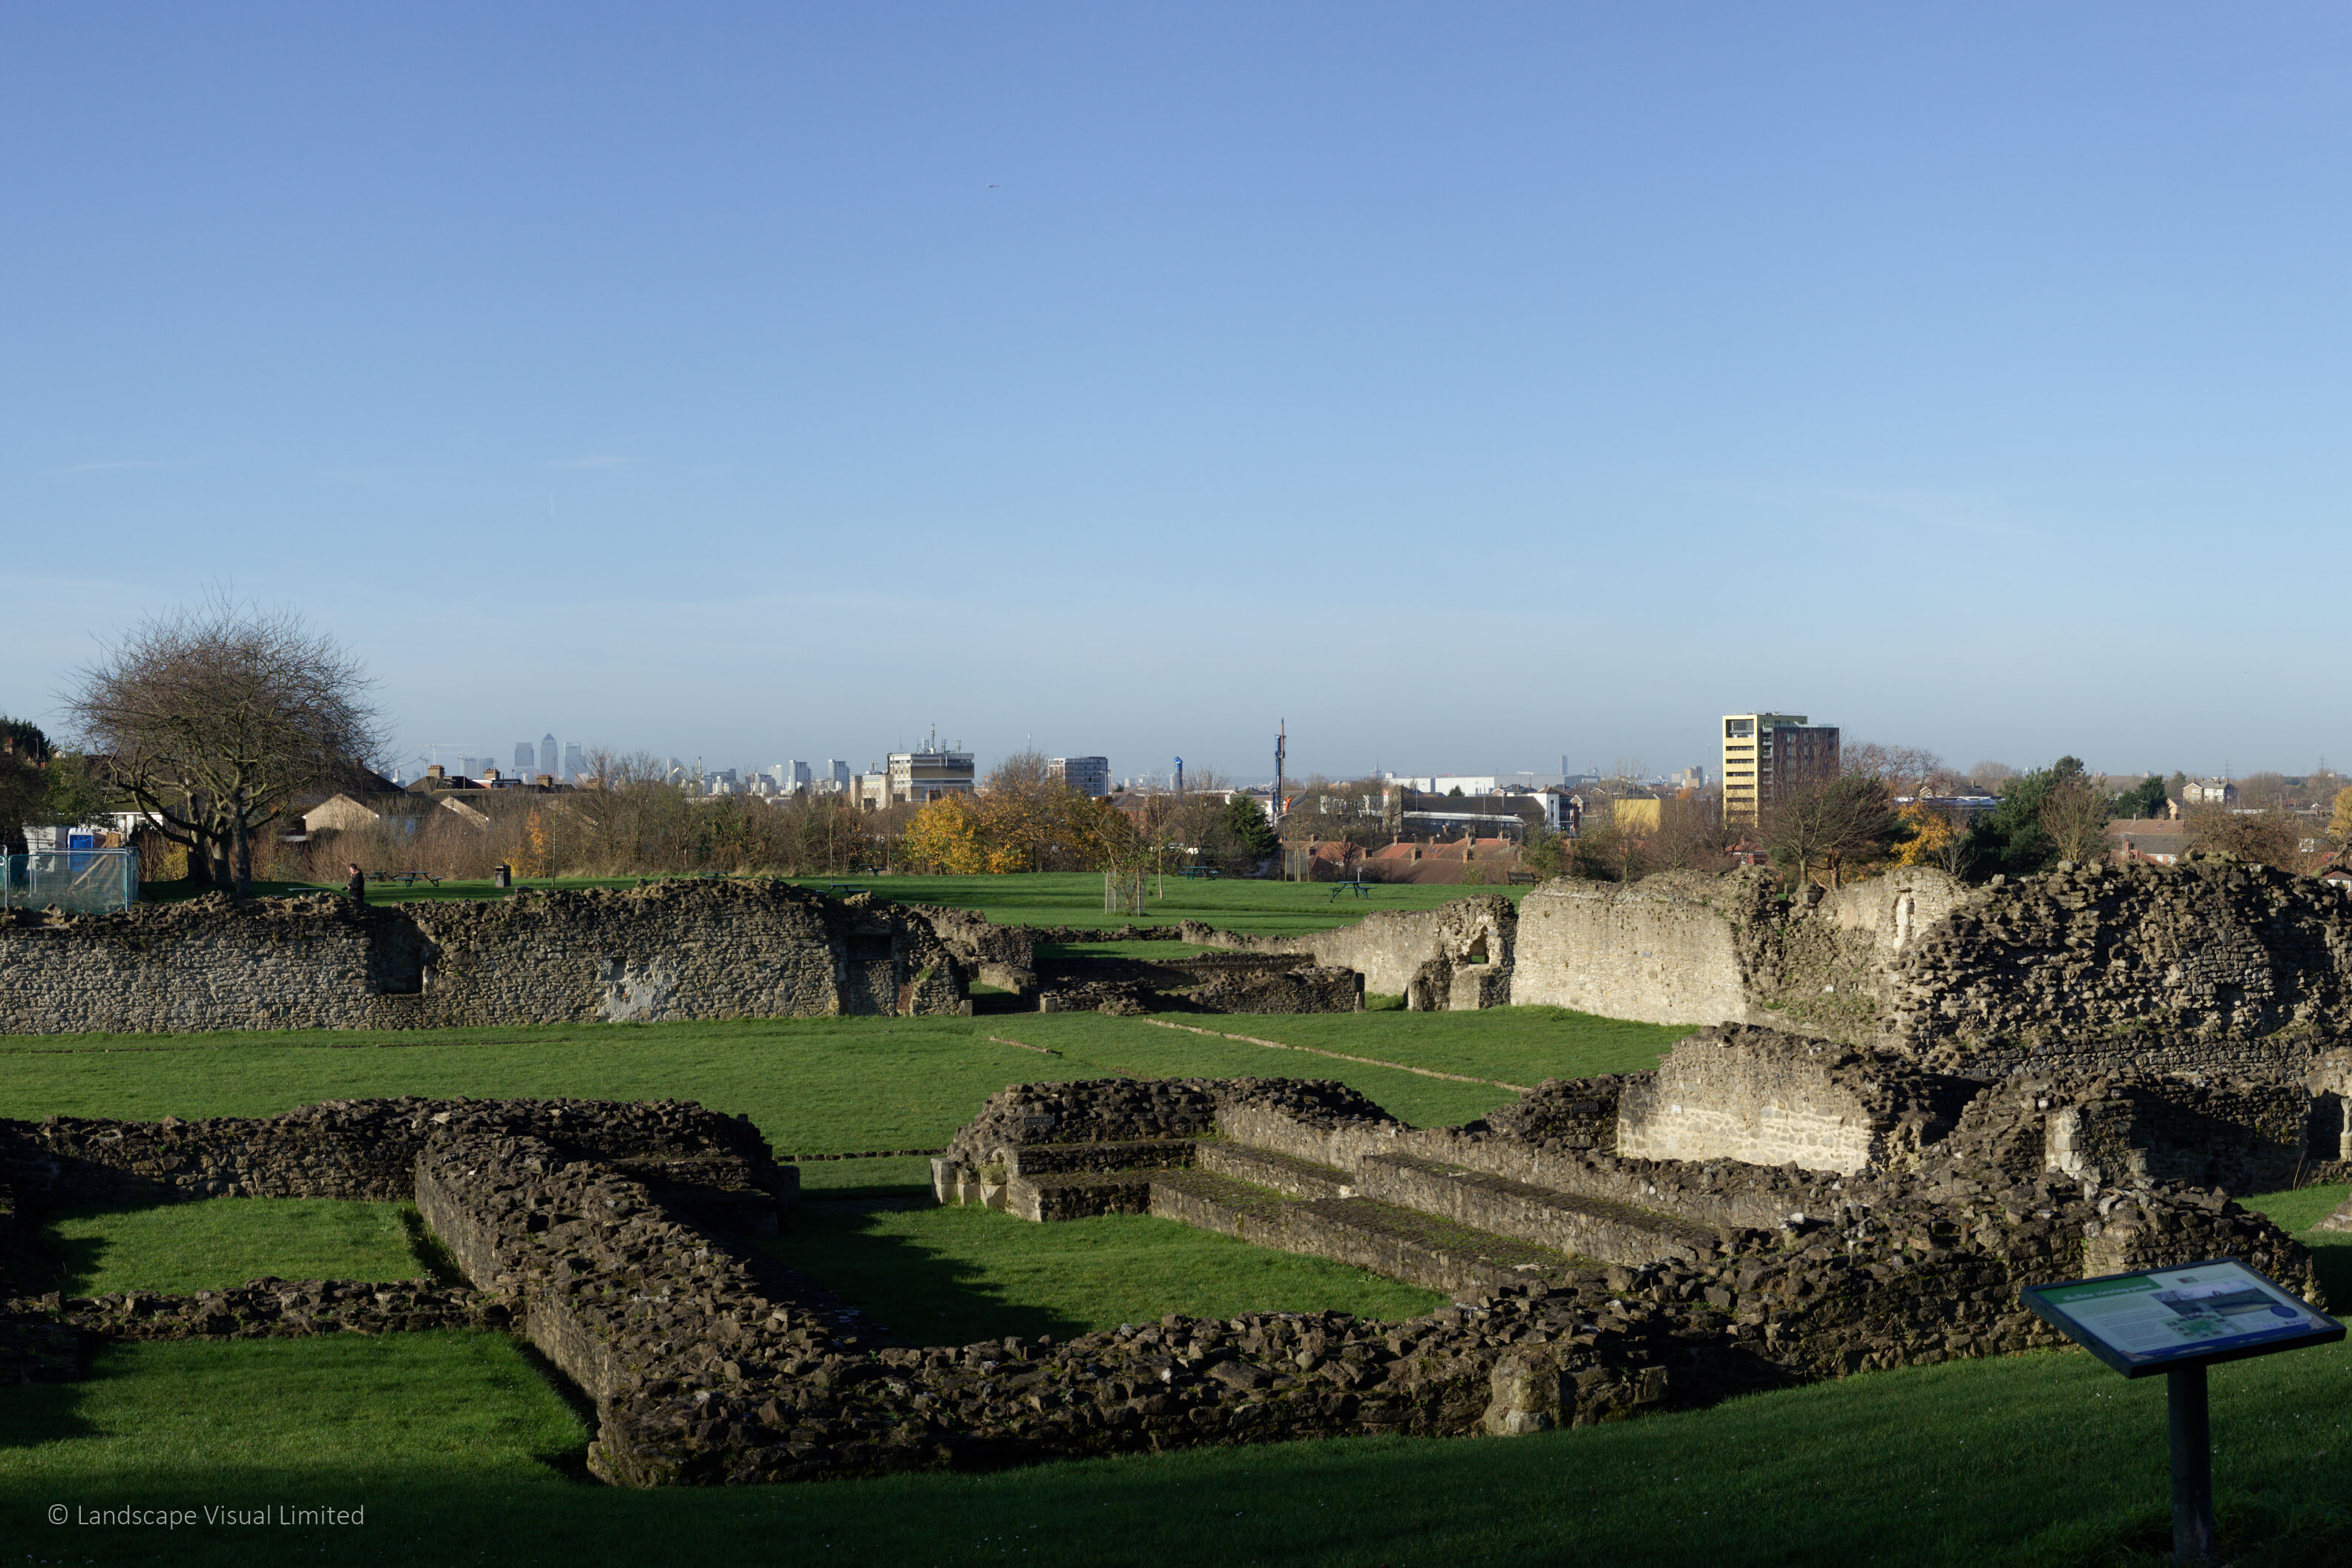
Lesnes Abbey towards Docklands, Abbey Wood South Thamesmead

South Downs National Park, Brighton and Hove
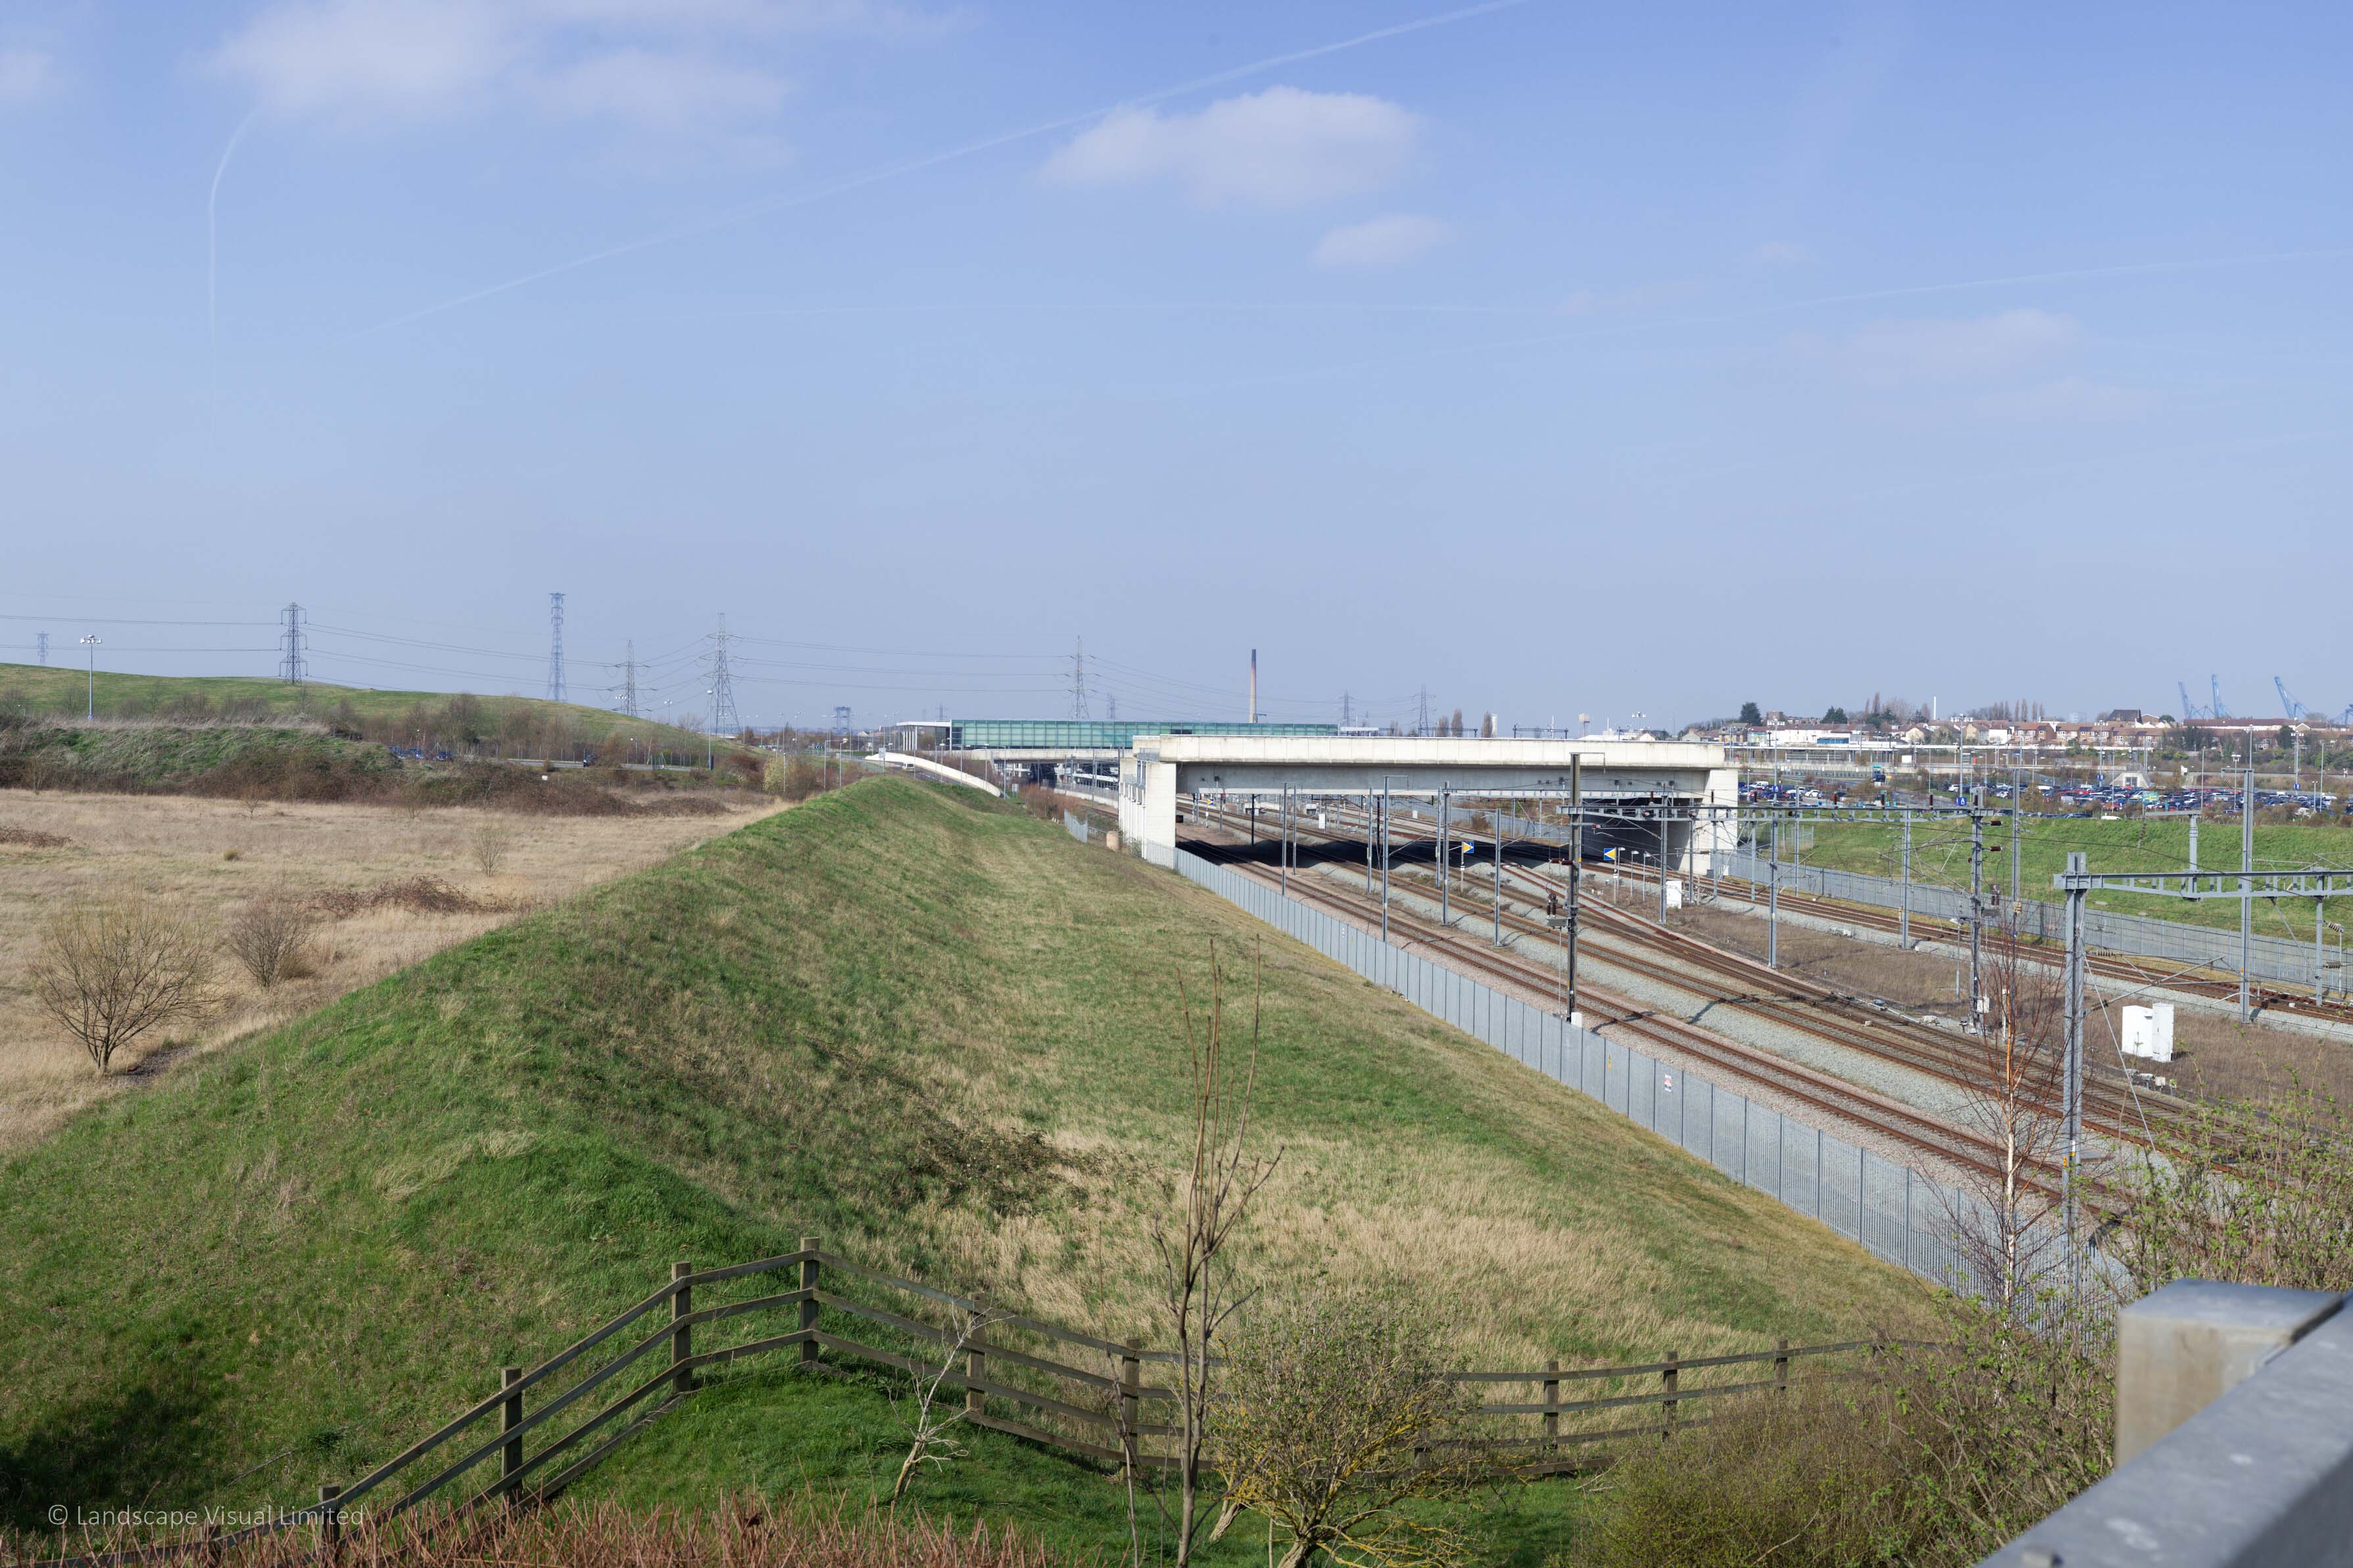
Ebbsfleet International

Poole Harbour from Isle of Purbeck, Dorset AONB
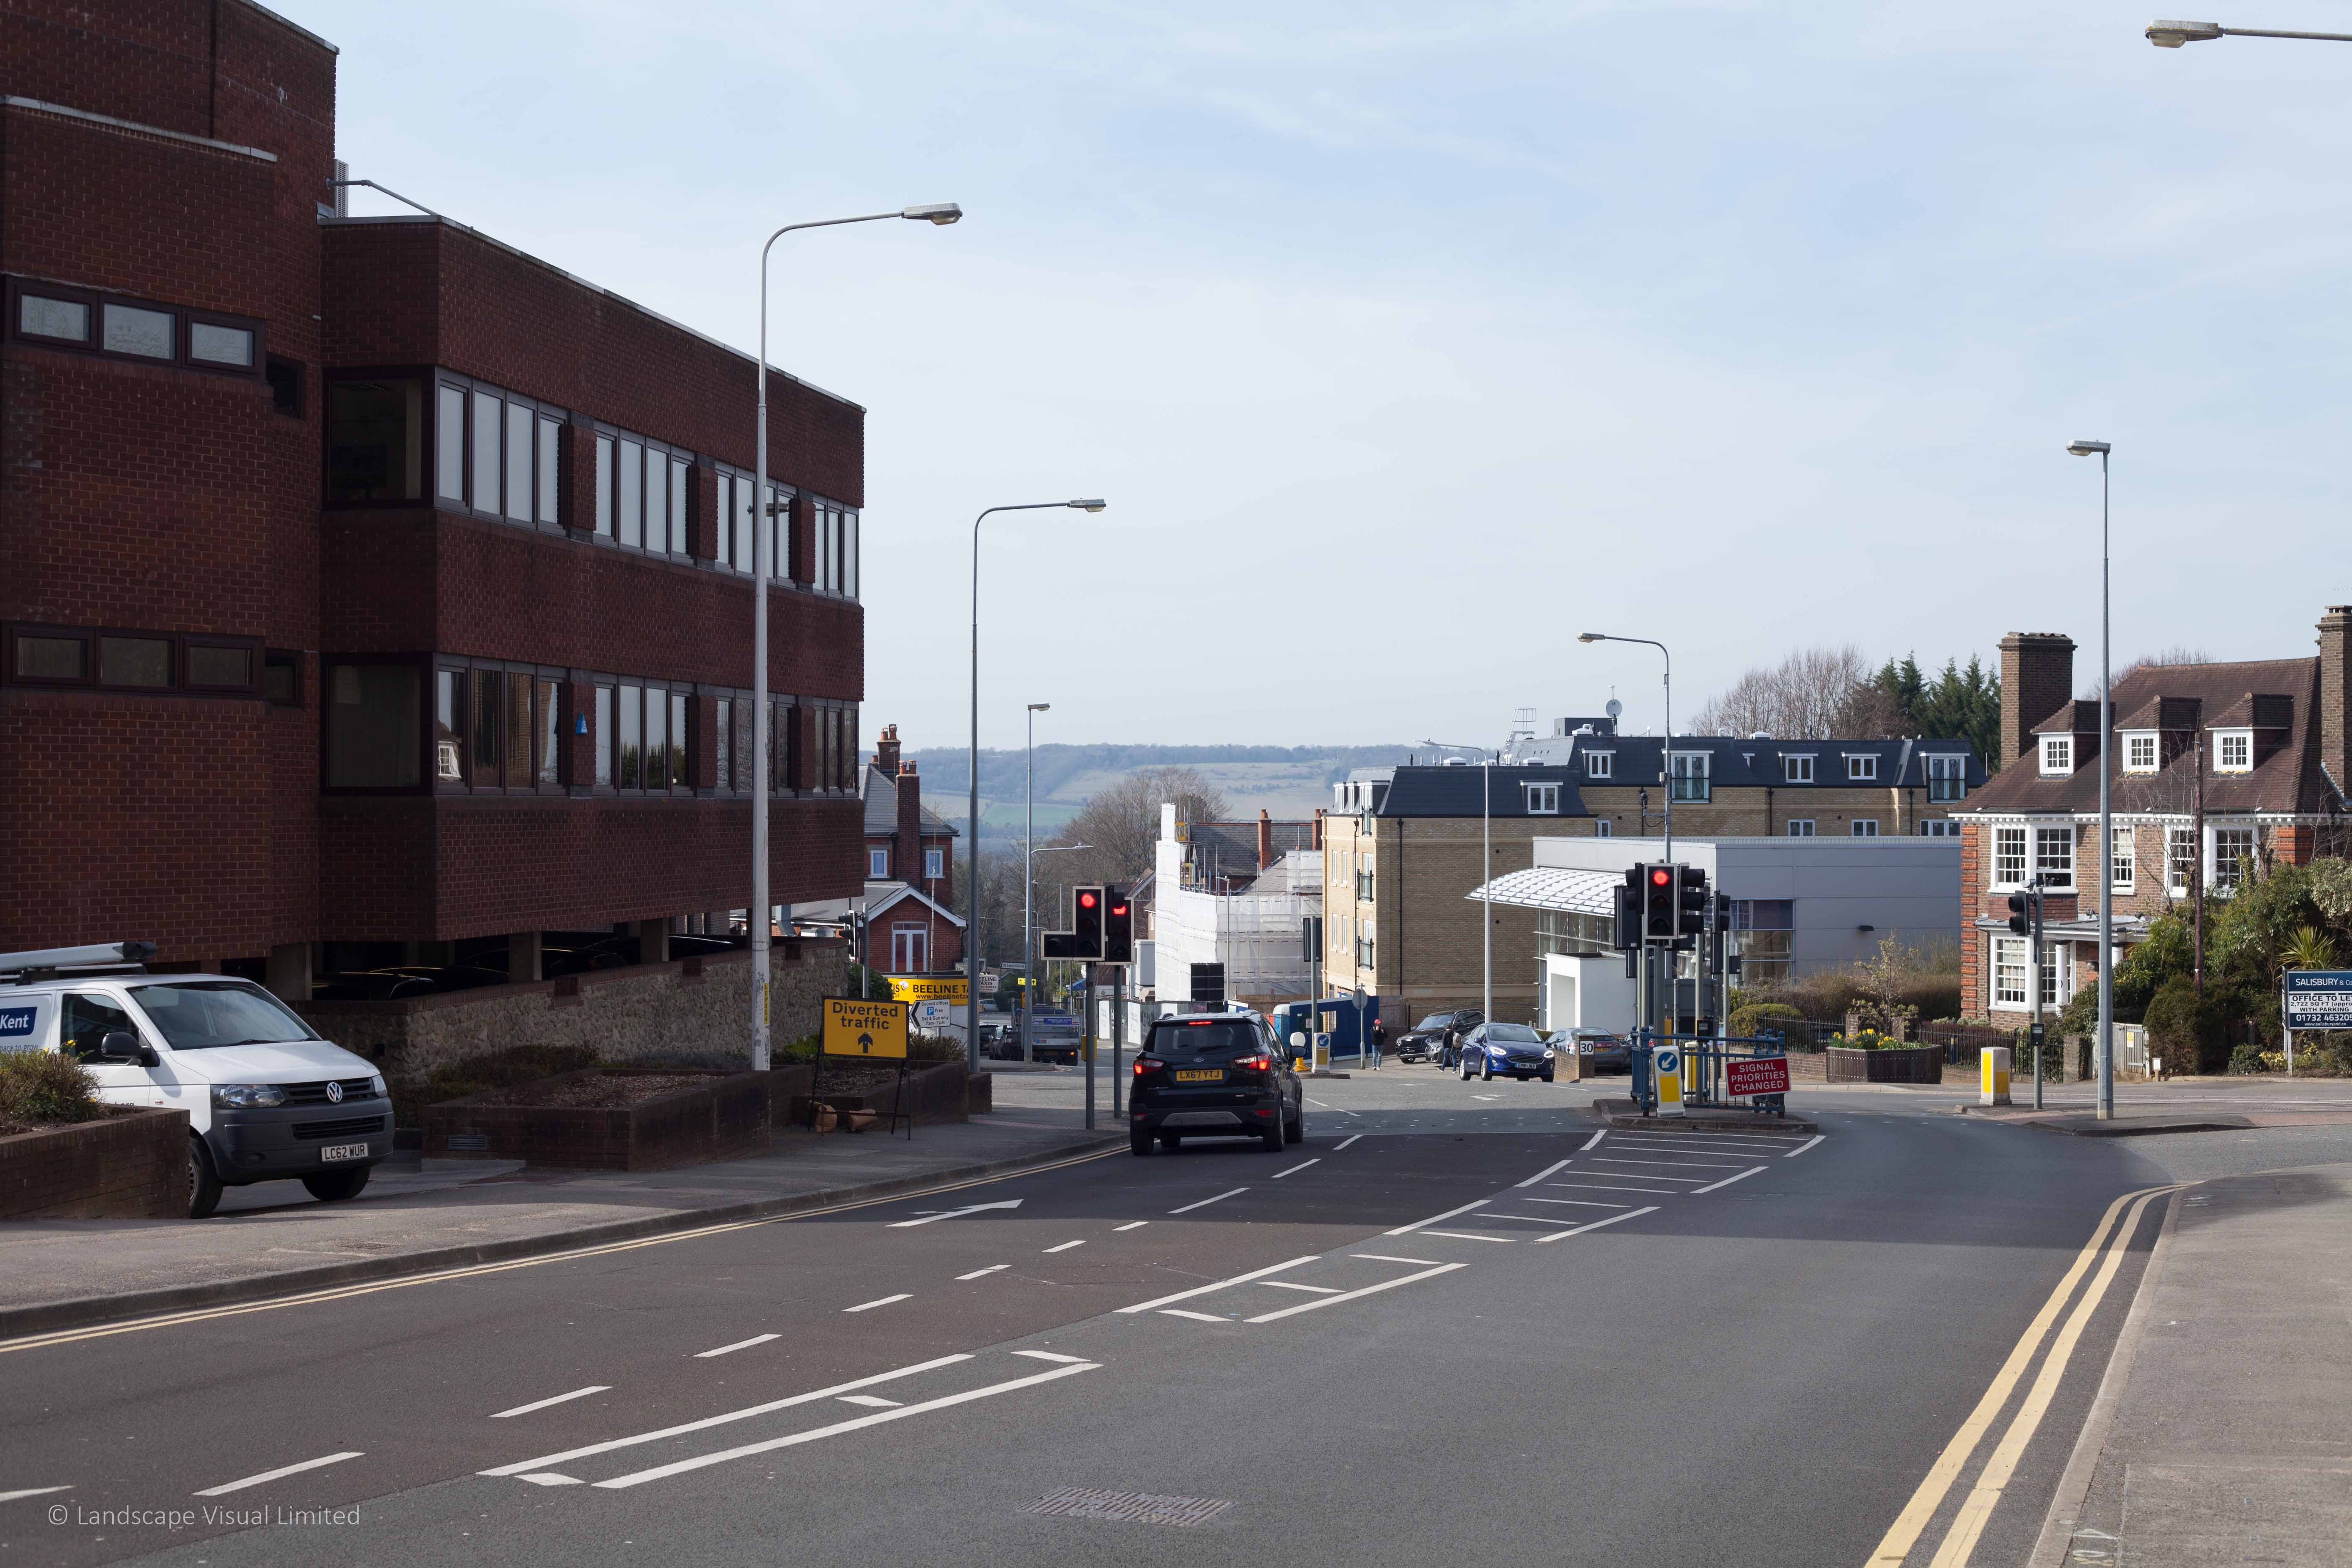
Sevenoaks, Kent
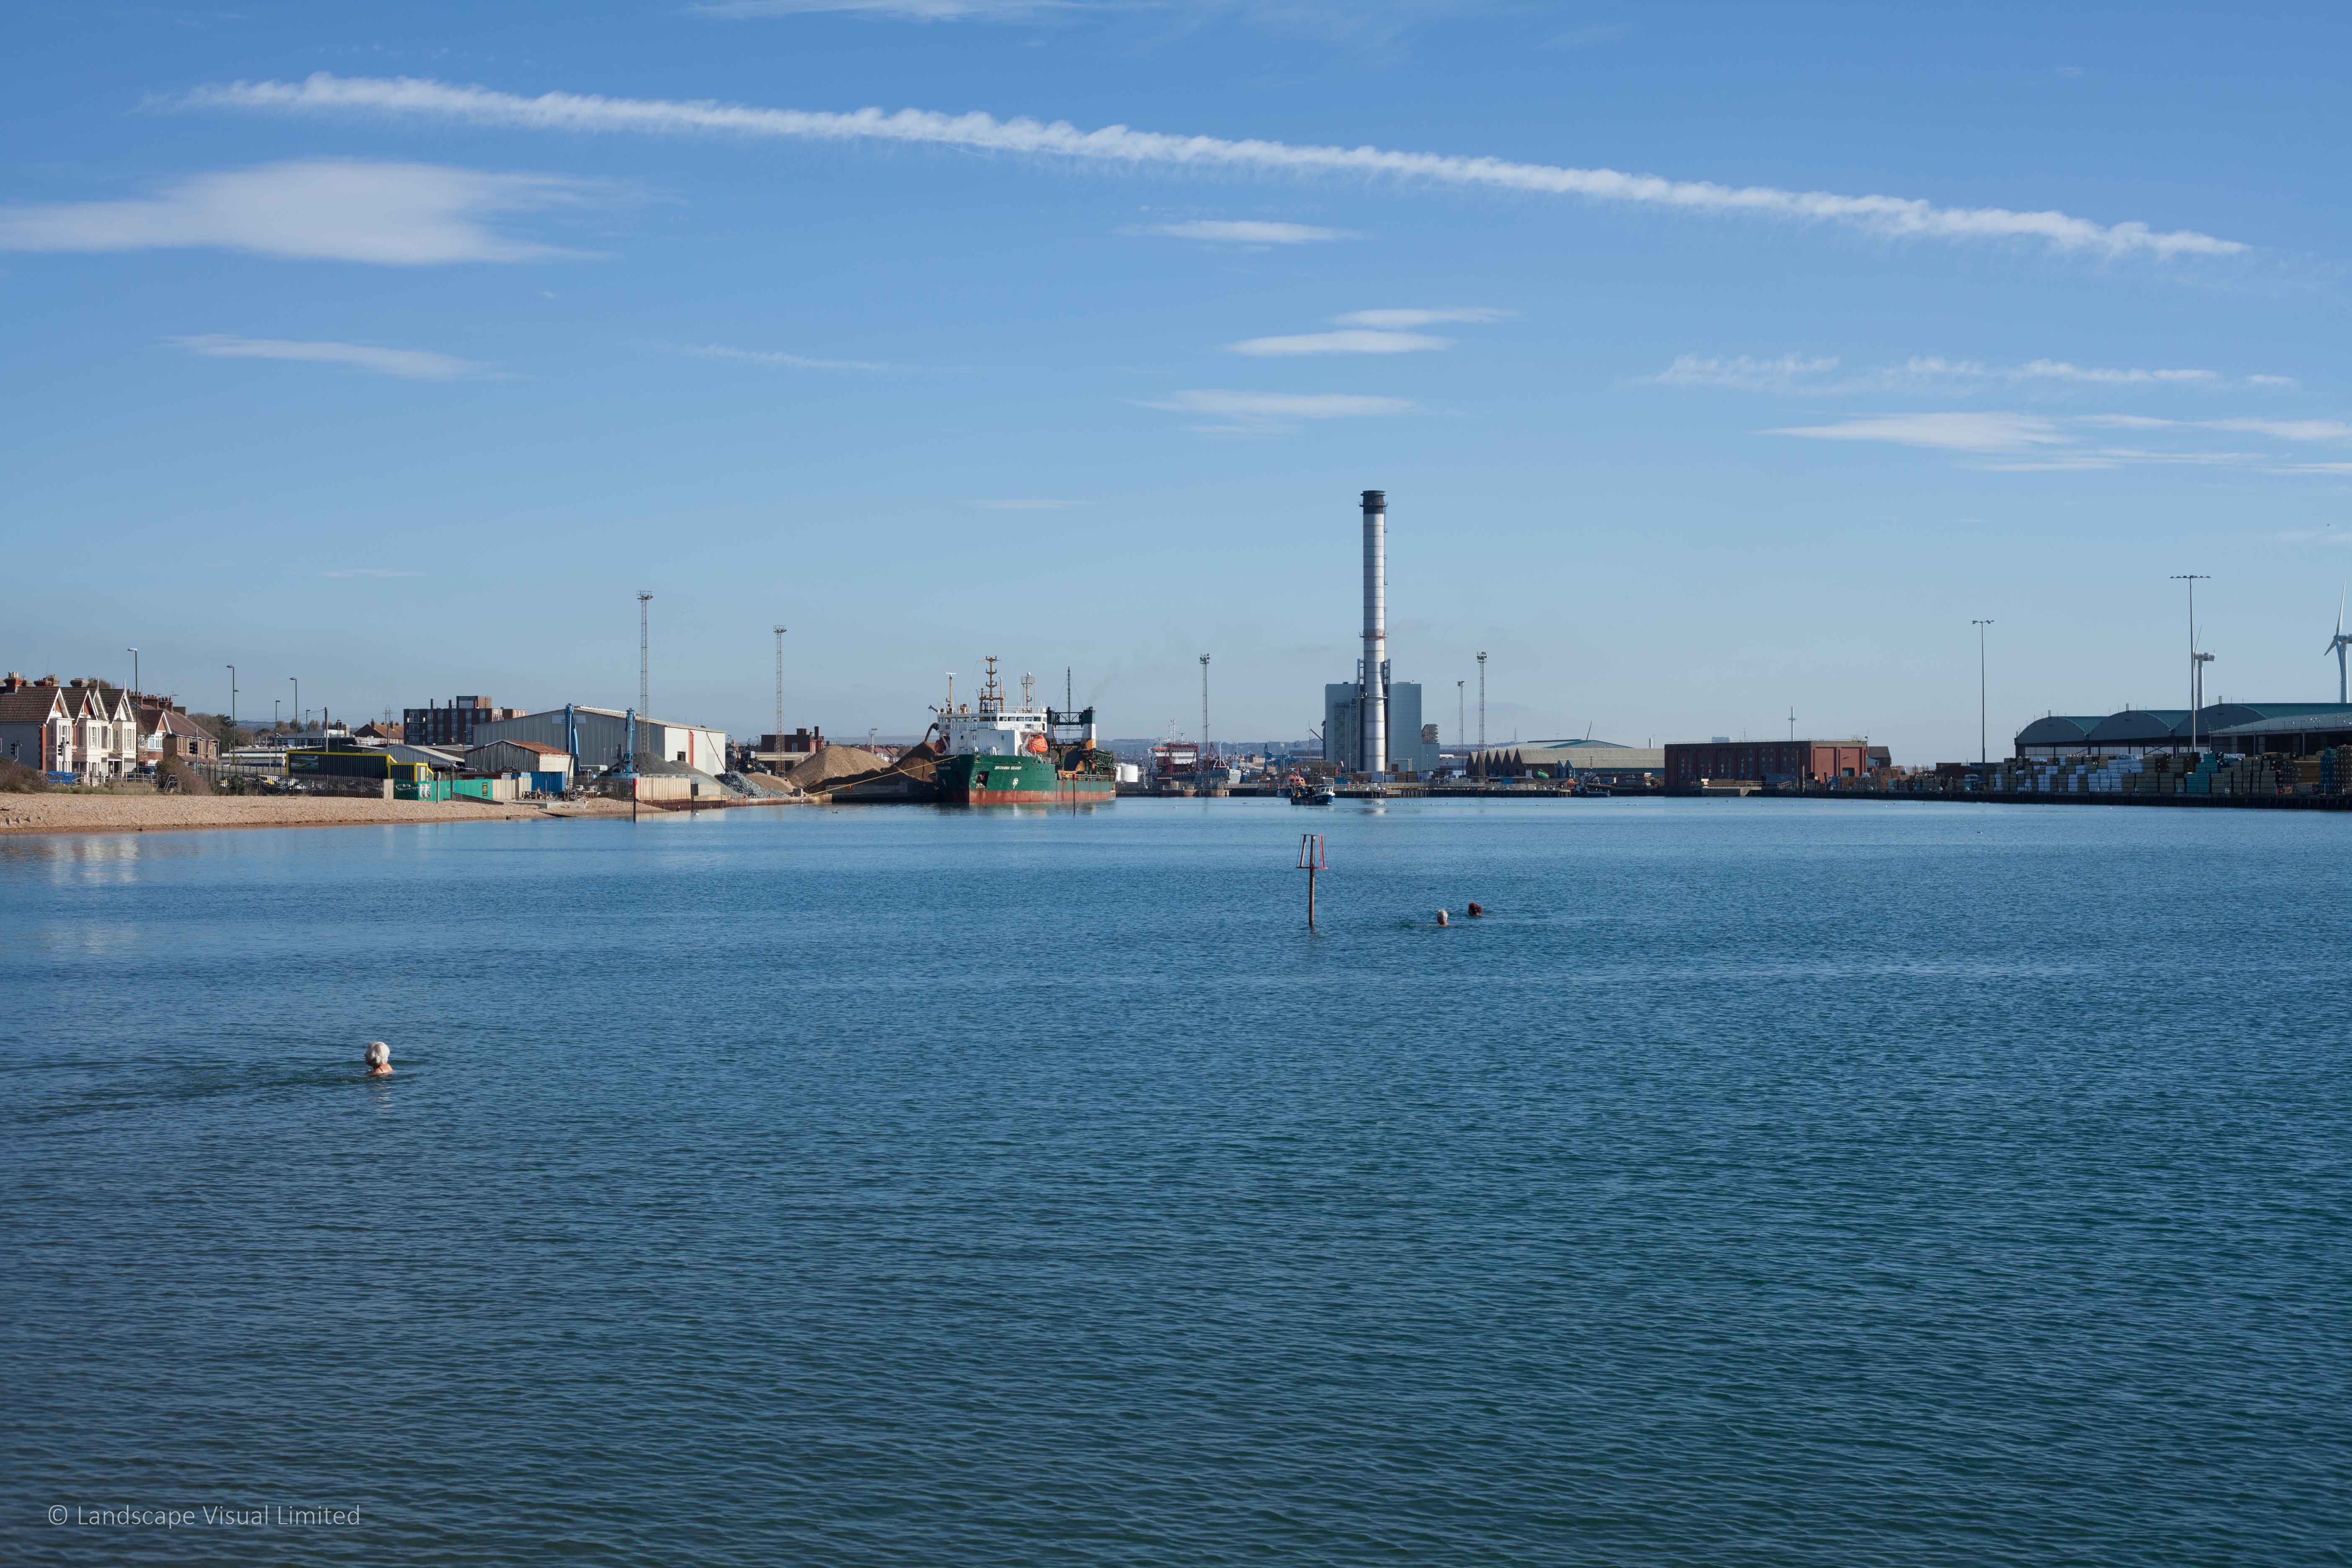
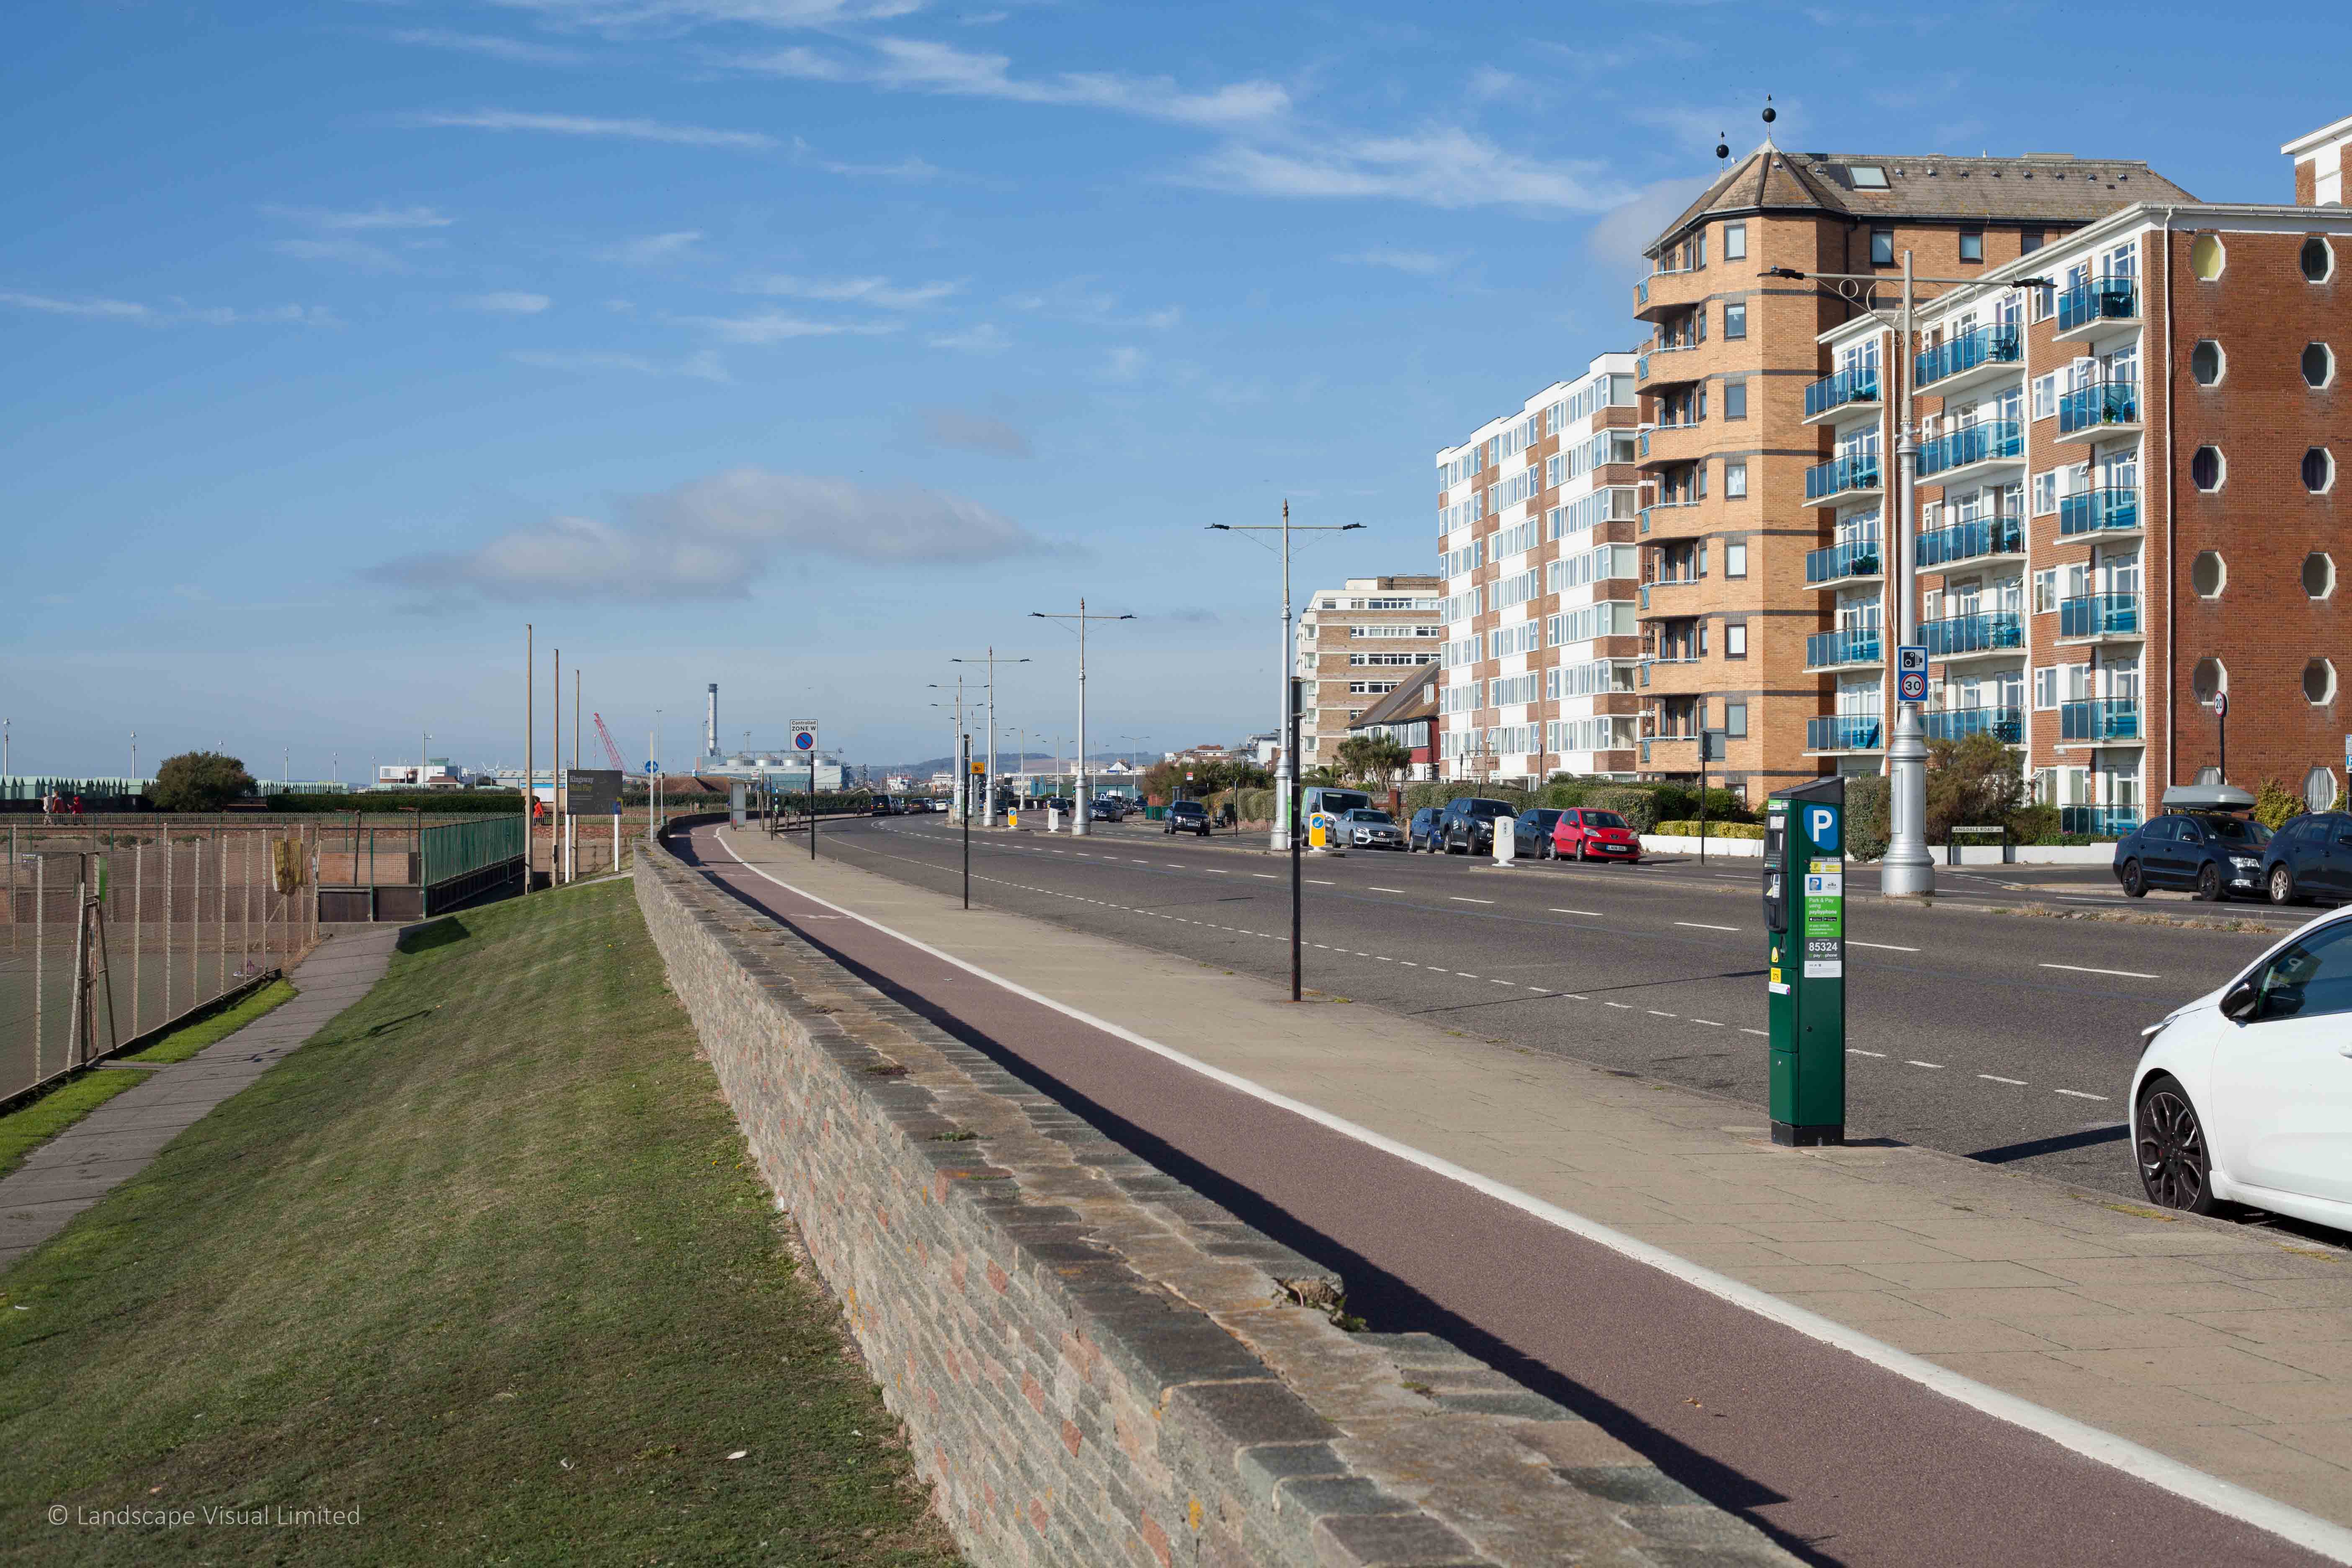
Shoreham Harbour and Power Station
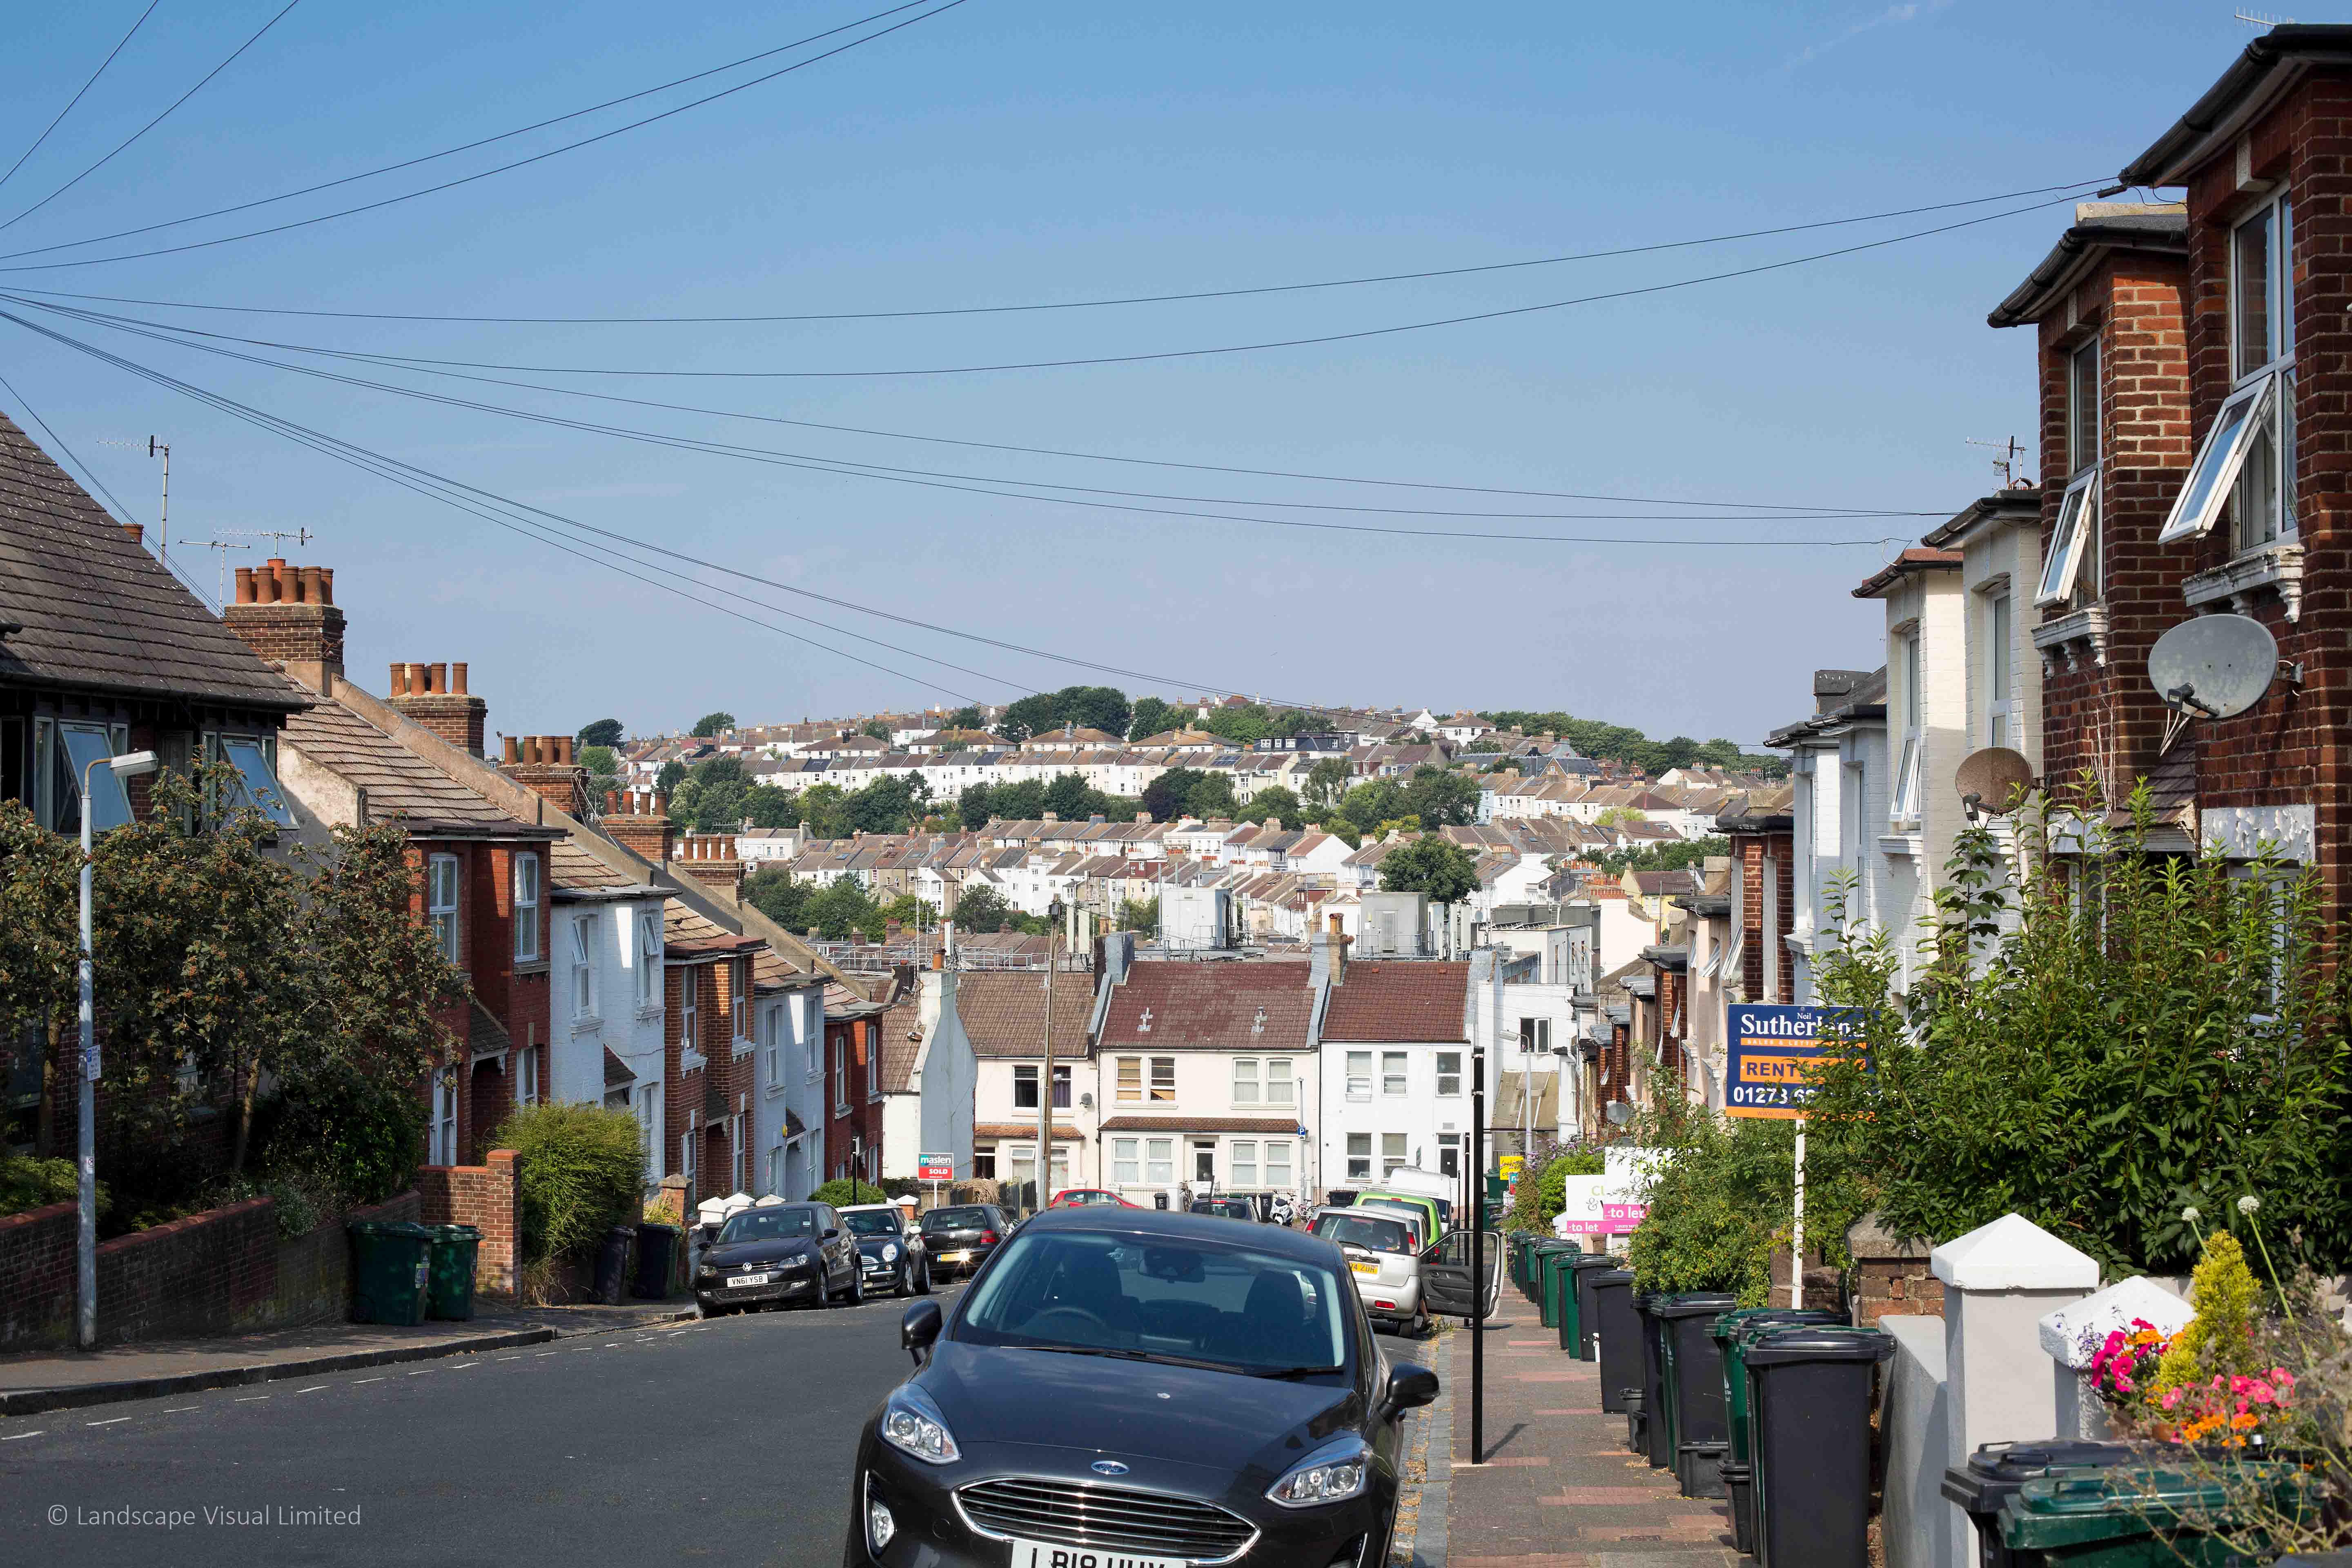
Hartington, Lewes Road, Brighton
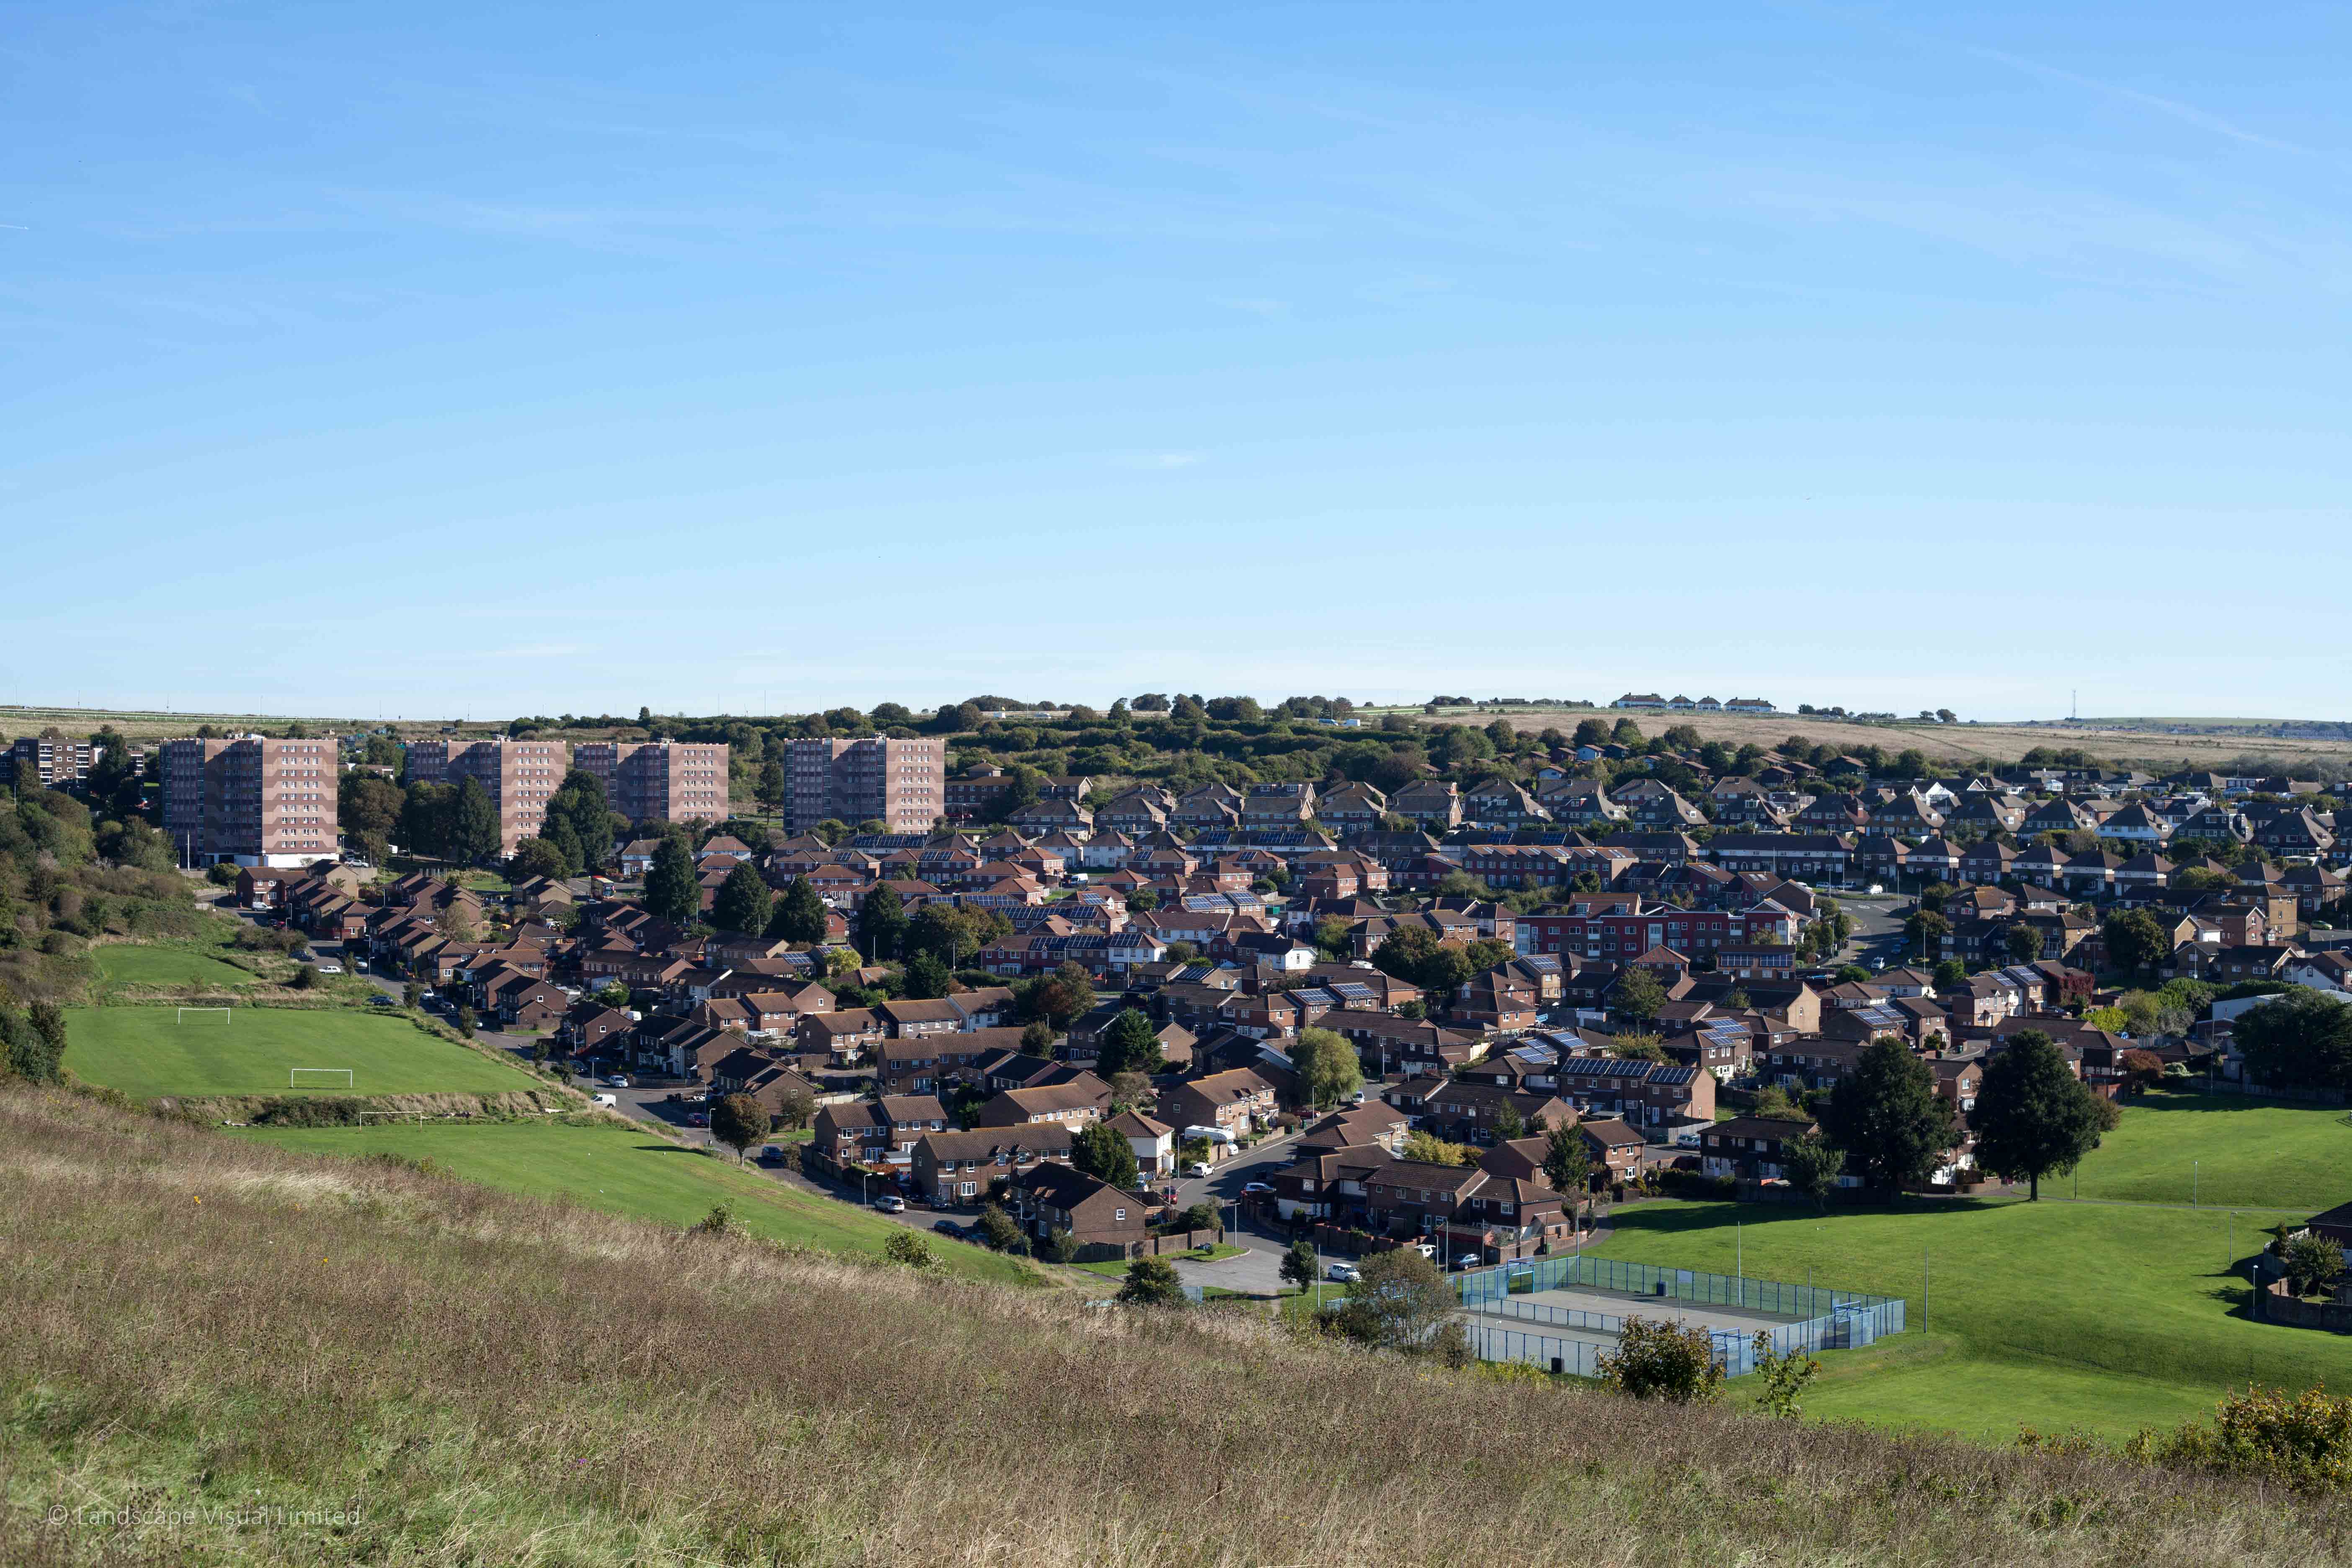
Whitehawk Estate, Brighton and Hove
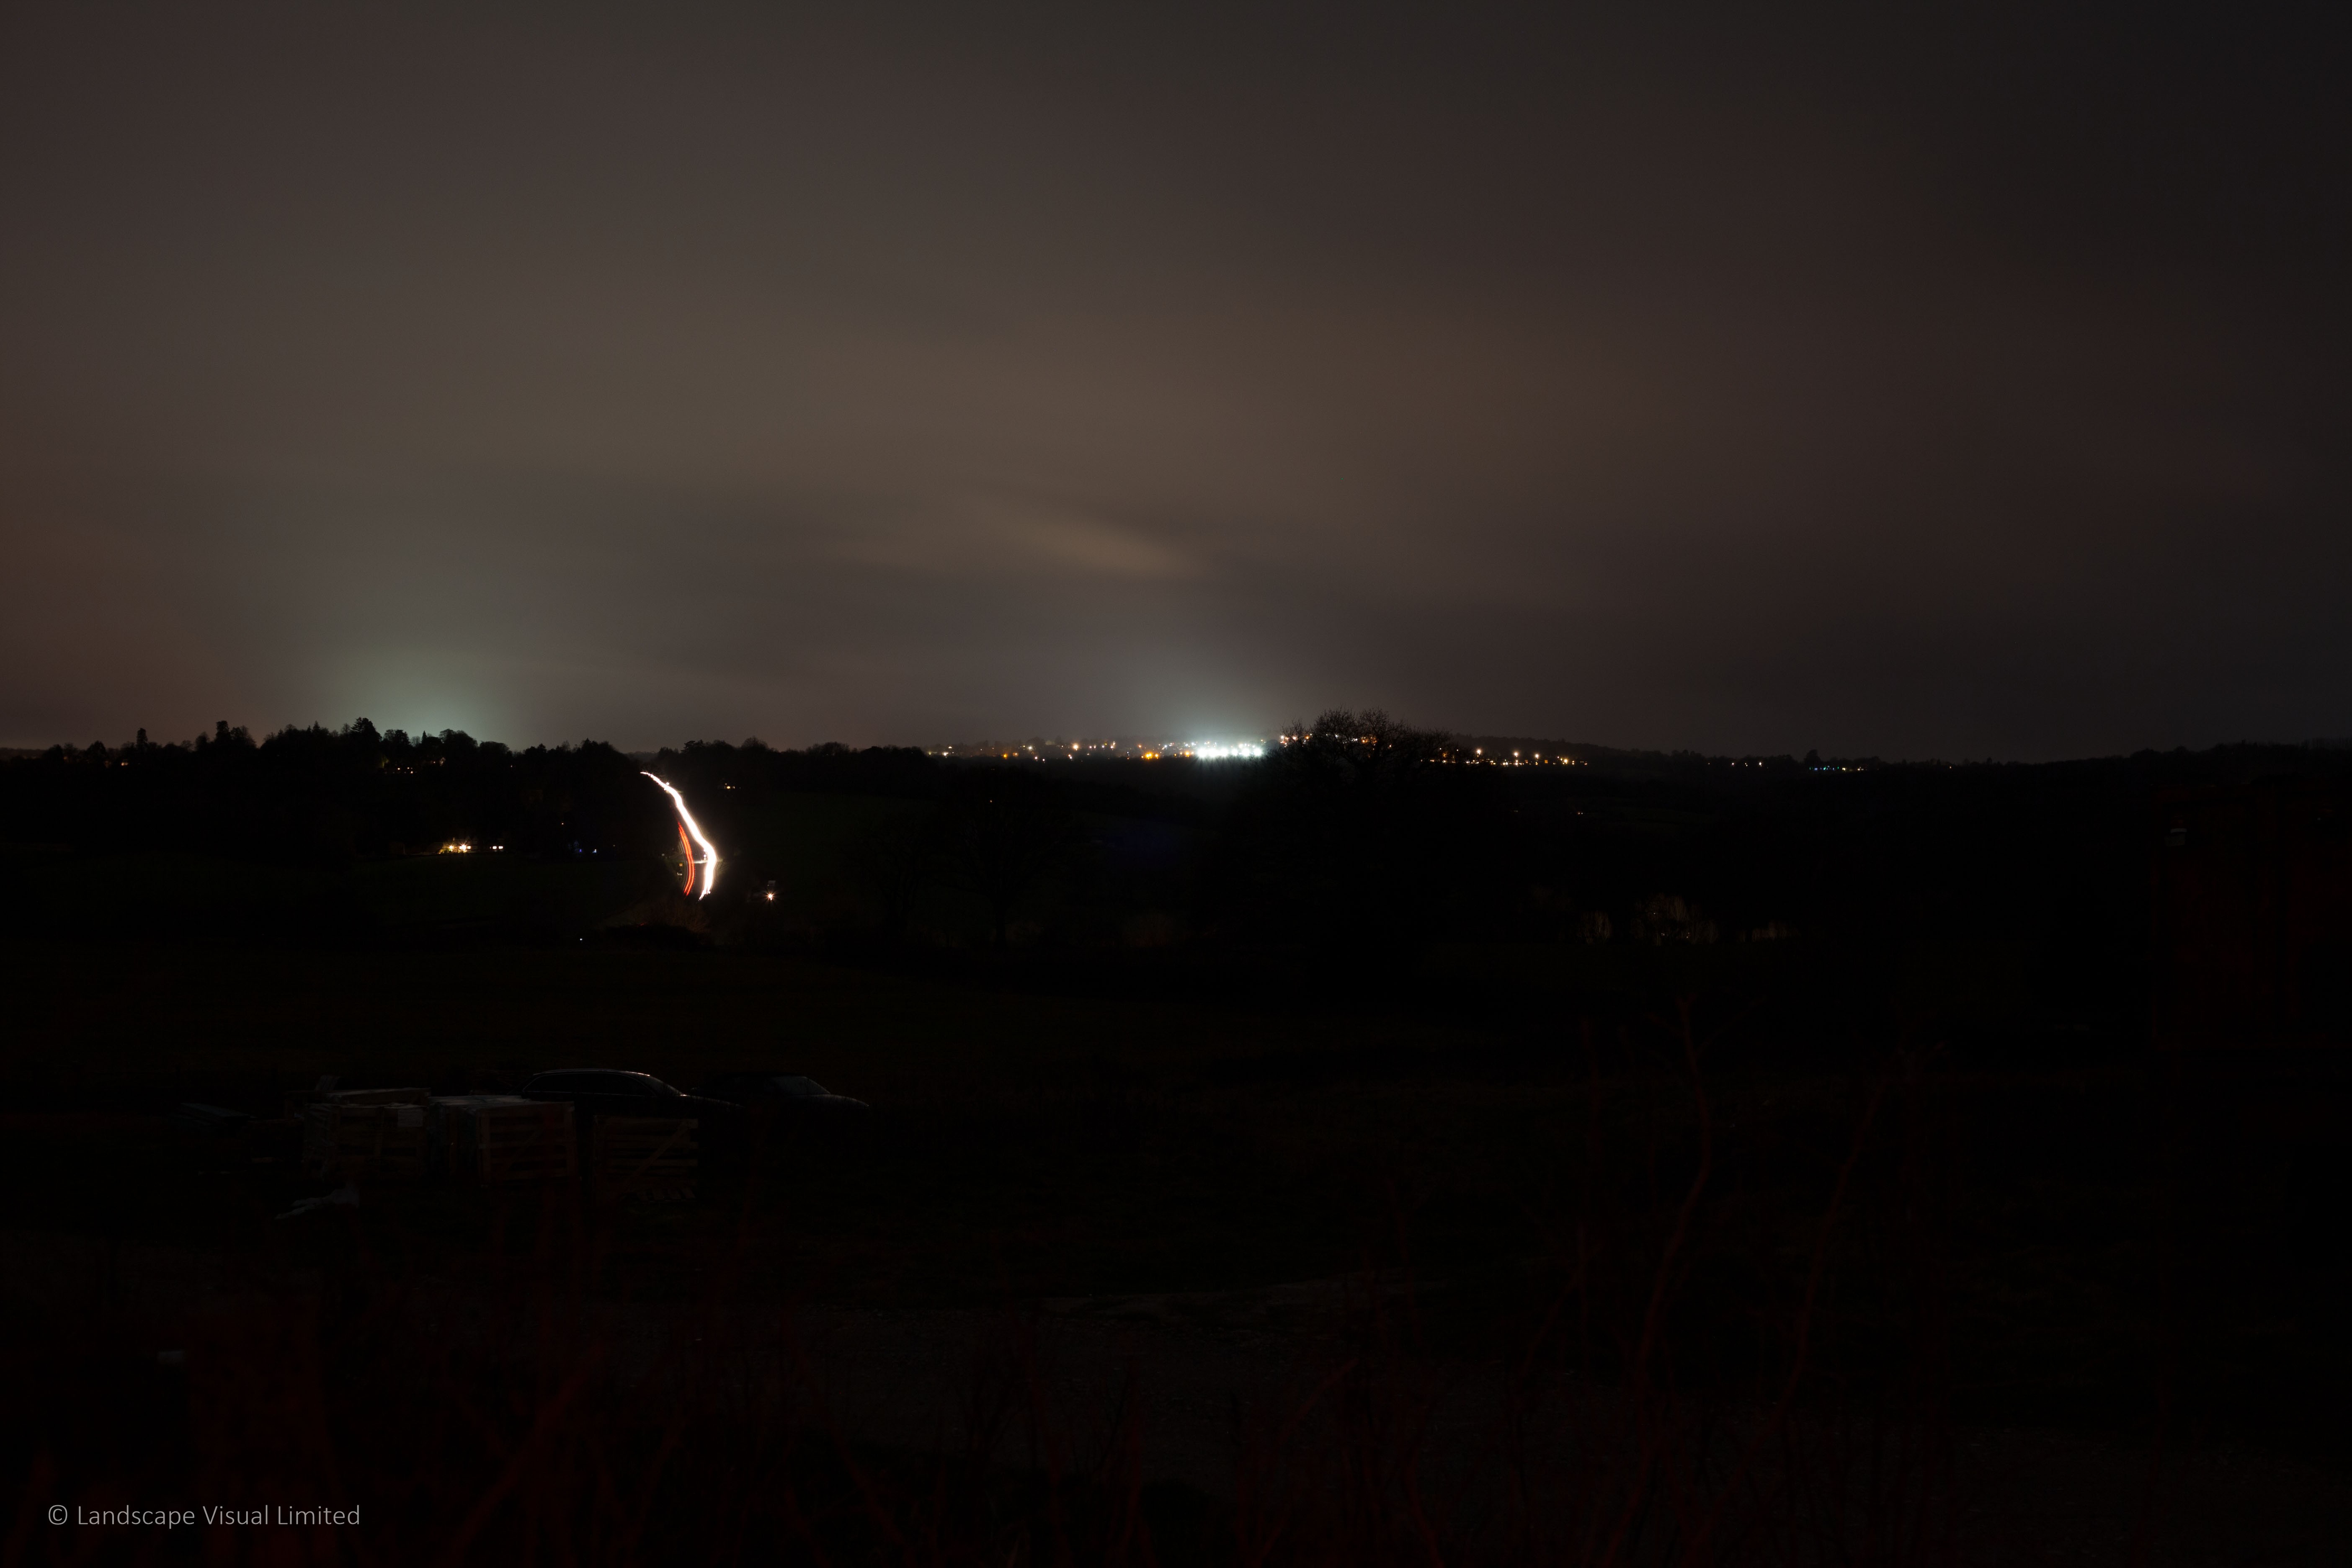
Crowborough, High Weald AONB